Project 1: Colorizing the Prokudin-Gorskii photo collection
Overview
For this project, I decided to use NCC to align the images from the Prokudin-Gorskii photo collection. The overall process starts with first splitting up the image into 3 images, for the blue, green, and red channels. Then, I would align the blue and red images to the green image, using NCC to determine the best alignment, with higher NCC being better. The alignment process starts with a number for the search range, let's say 8. Starting from the given position of the moving image (red or blue), I have two loops, looping over all possible positions that the moving image can be in within the 8x8 search range, relative to the green image. For each position, I would calculate the NCC score of the entire moving image, and the position with the highest NCC score would be the best alignment. When the best alignment is found, I would then create the three-channel image by first creating a blank image large enough to fit all 3 images after displacement. The green image goes in the center, and the red and blue images are placed according to their displacement. Then, to get rid of the extra space, I crop the image to only show the overlapping regions of all 3 images. As such, the only bell and whistle I added is the cropping. I do however see potential to add things such as white balance to make the colors more balanced, but that's a problem for future me when there isn't a Friday deadline.
When aligning two images and calculating the NCC score, I would only calculate the NCC score on the overlapping regions of the two images, meaning I would usually crop a bit out of both images before finding the NCC of the overlapping regions. While this technically results in some information loss, it is inevitable due to the fact that we have to align the images at all. It also ensures that the NCC is more accurate as I won't be calculating the NCC of an image with another blank pixel. When testing my program, I would run into problems with alignment, specifically with the first cathedral image, which was driving me mad at first. But I fixed this by cropping out a bit of space from a border around the image every time before calculating the NCC. This is because along the edges of the original images, there is always a black border and some weird artifacts which would mess up the NCC score. This affected different images differently, but always performing this center crop proved to be useful for all images. This is of course some information loss, but I found that I would never get a worse alignment with the center crop compared to without, so I stuck with it.
Single-Scale Alignment
For the single-scale alignment, I would just use the same alignment process as above, but with a fixed search range of 32. I found that using bigger search ranges wouldn't really help since the overall alignment necessary was always very small due to the original images being relatively small. 32 is a huge search range considering it goes in both ways for both x and y, so it was more than enough to find the best alignment. The alignment process is pretty much the same as described above. Here is my alignment of cathedral.jpg:
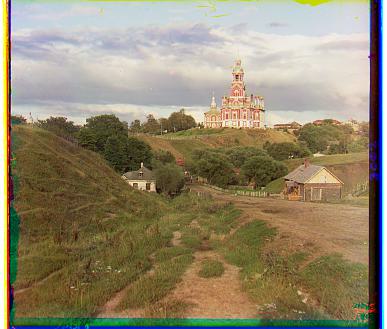
Cathedral - Blue: (-5, -2), Red: (7, 1)
Multi-Scale Pyramid Alignment
For pyramid alignment, I would first downsample the image by a factor of 2, until the image is 128x128 or less. I kind of chose this number arbitrarily, but downsampling too much won't be helpful since it will result in huge mistaken alignments which are carried on to higher levels. After downsampling enough, I would run the same process as above to align the images, and then I would move onto the next higher level of upsampling. When moving to a higher sampling rate, I would remember the cumulative displacement from the lower levels, doubling the alignment added from the previous level. For example, if we're going from 128x128 to 256x256, and we decided that we wanted an alignment of (1, 2) at the 128x128 level, then when we begin the alignment for 256x256, we start with an alignment of (2, 4). The function I wrote to align images takes in an intial displacement to account for any previous alignments, making this step easy. The actual alignment process for each layer is the same as the single-scale alignment, using NCC as usual. Once we are at the very top level, ie the original image, we performce the final round of alignemnts, starting from the cumulative displacement from the lower levels. This final alignment is the one used for the final colorized image.
The benefit of using pyramid alignment is that you can perform much less alignments at each level while still ending with a good alignment. I made it so that at the very low levels (highly downsampled images such as around 128x128), I would use a bigger search range (32) to ensure that we always find the optimal alignment at that level, also because it is very cheap since the image is so small. Then, at higher levels, I would only use a search range of 8 since the images are already very large and the alignment is much more expensive but also more precise. Lastly, one change I added after Thursday is that I would first apply a Gaussian blur to the image before downsampling, with my own implementation of convolution and the Gaussian kernel. In theory this gets rid of some of the higher frequencies in the original image and prevents aliasing in the downsampled images. However I don't think this actually made much of a difference, as I tested some images and they ended up with the exact same alignment. Regardless, I kept the Gaussian blur in, but I added an option to not use it just in case.
Here are the rest of the images from the data folder, along with their displacements.
Cathedral - Blue: (-5, -2), Red: (7, 1)
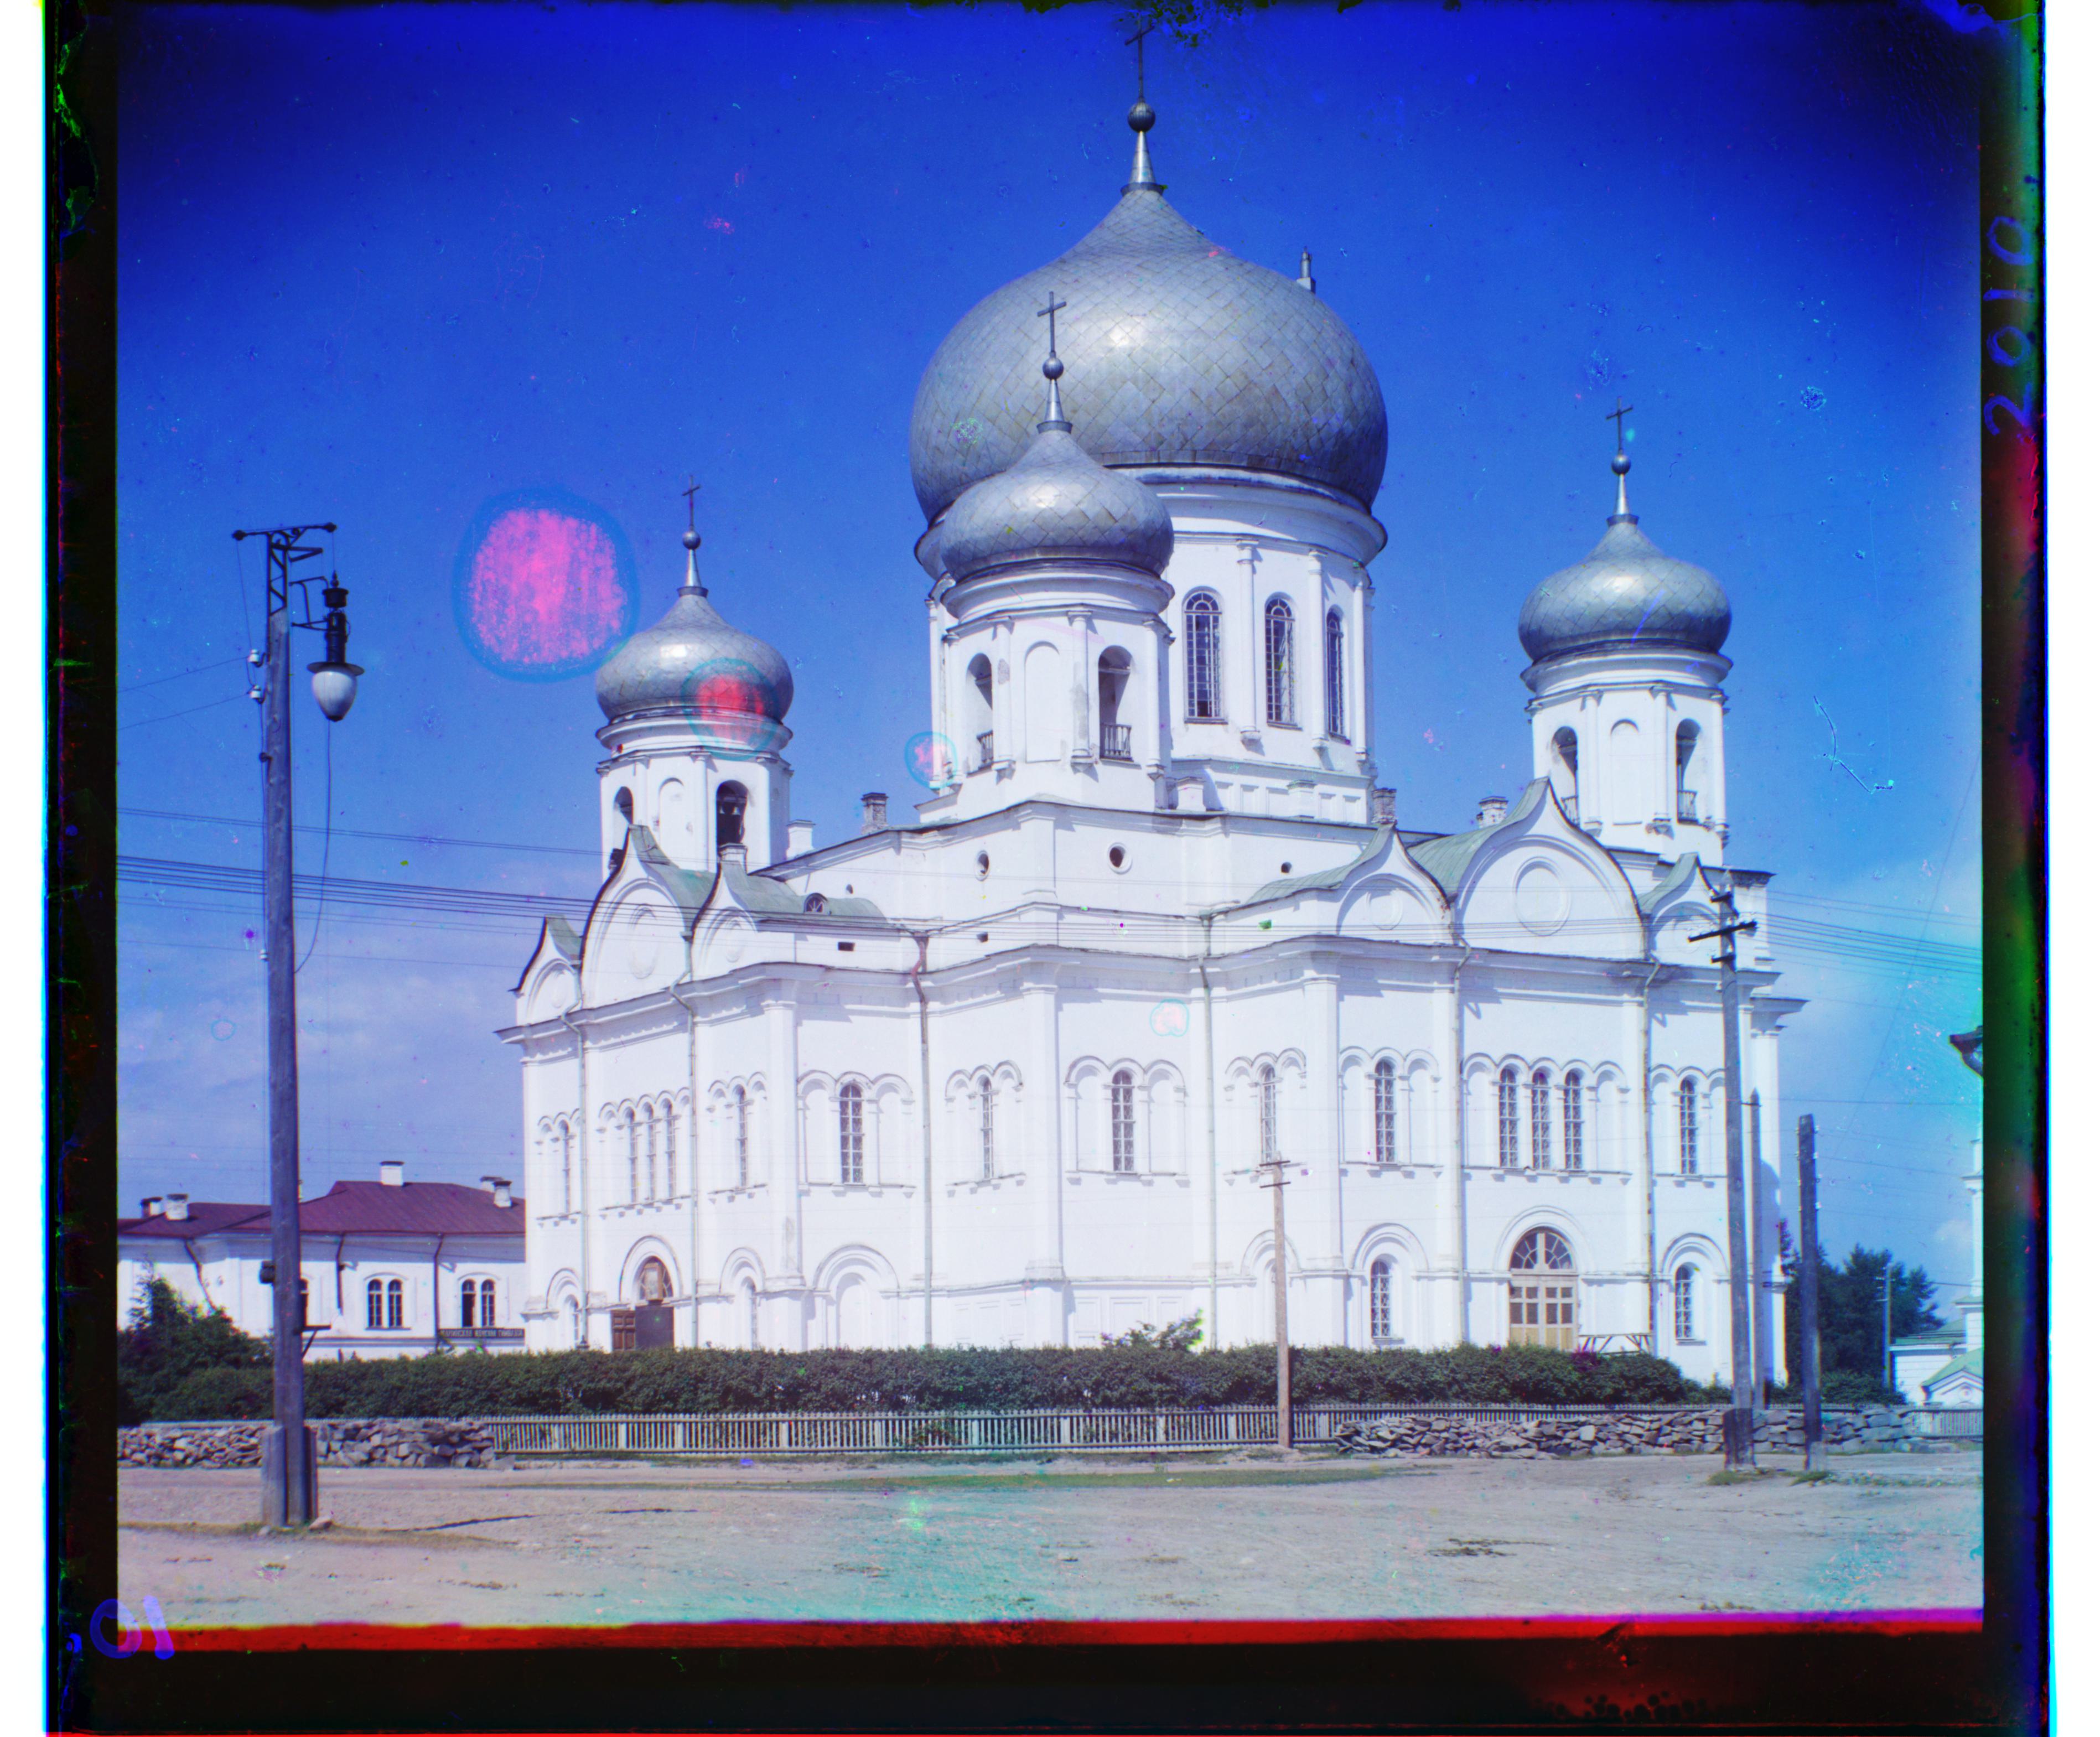
Church - Blue: (-25, 10), Red: (33, -8)
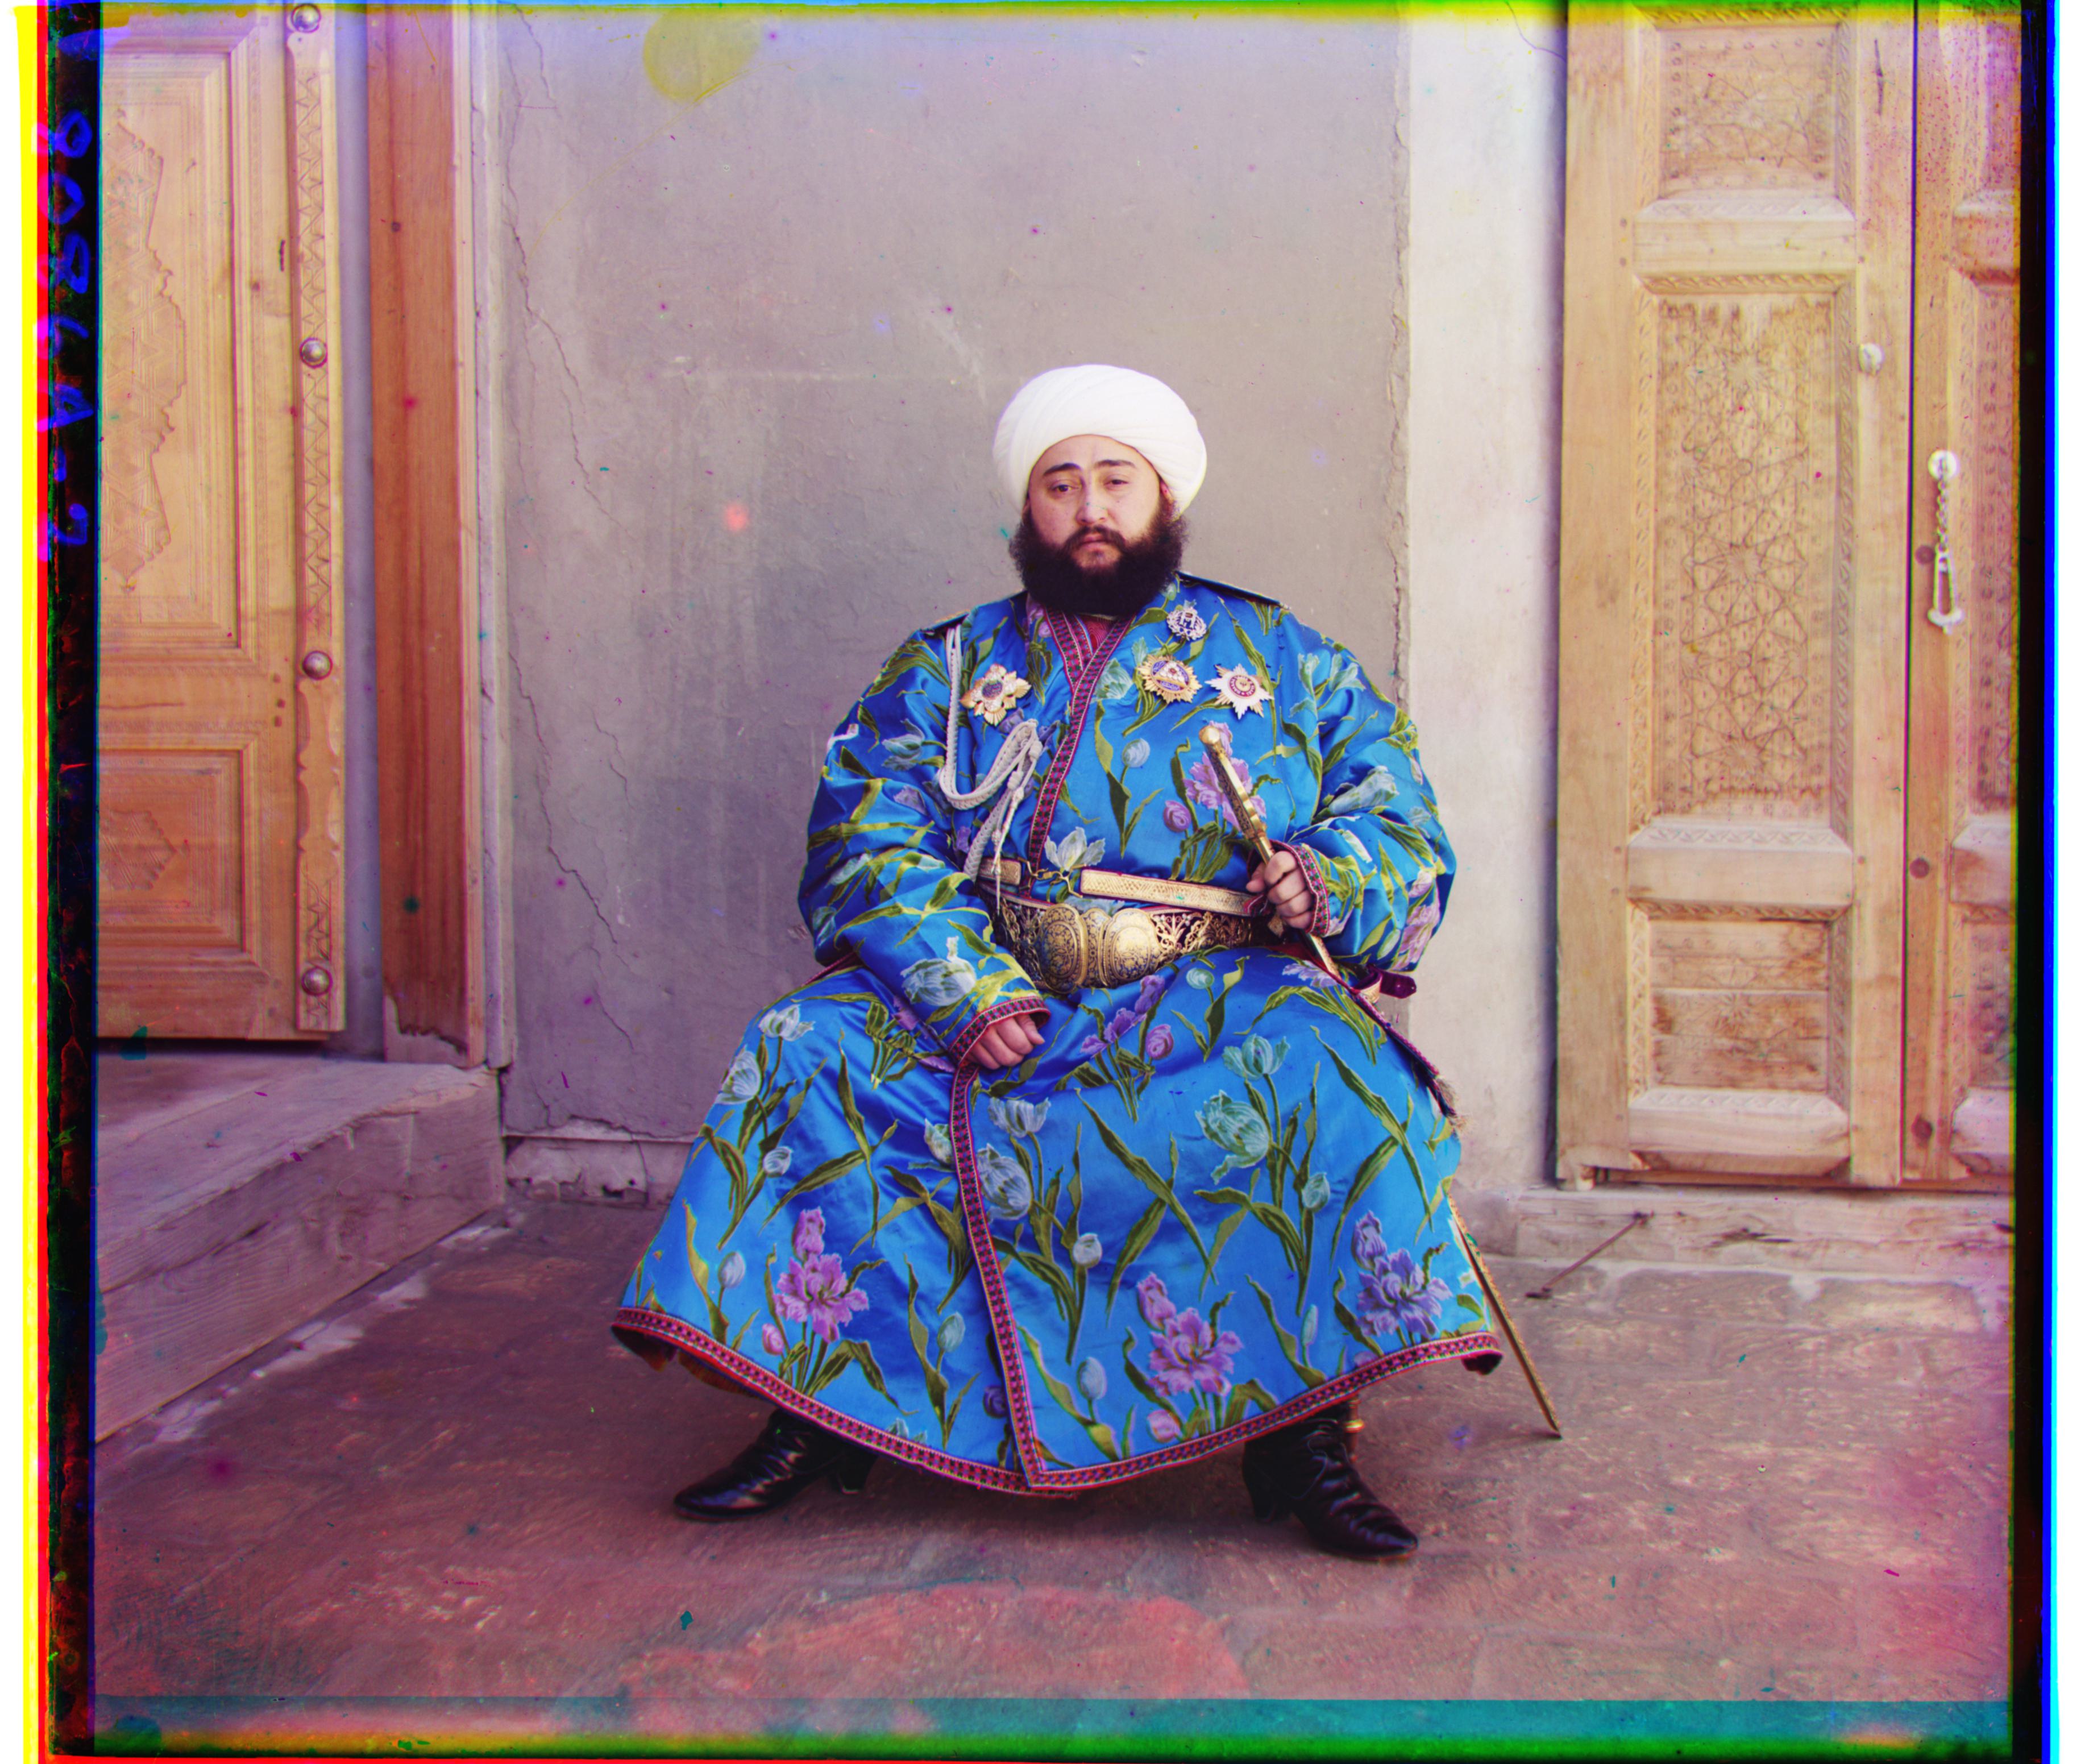
Emir - Blue: (-49, -24), Red: (57, 17)
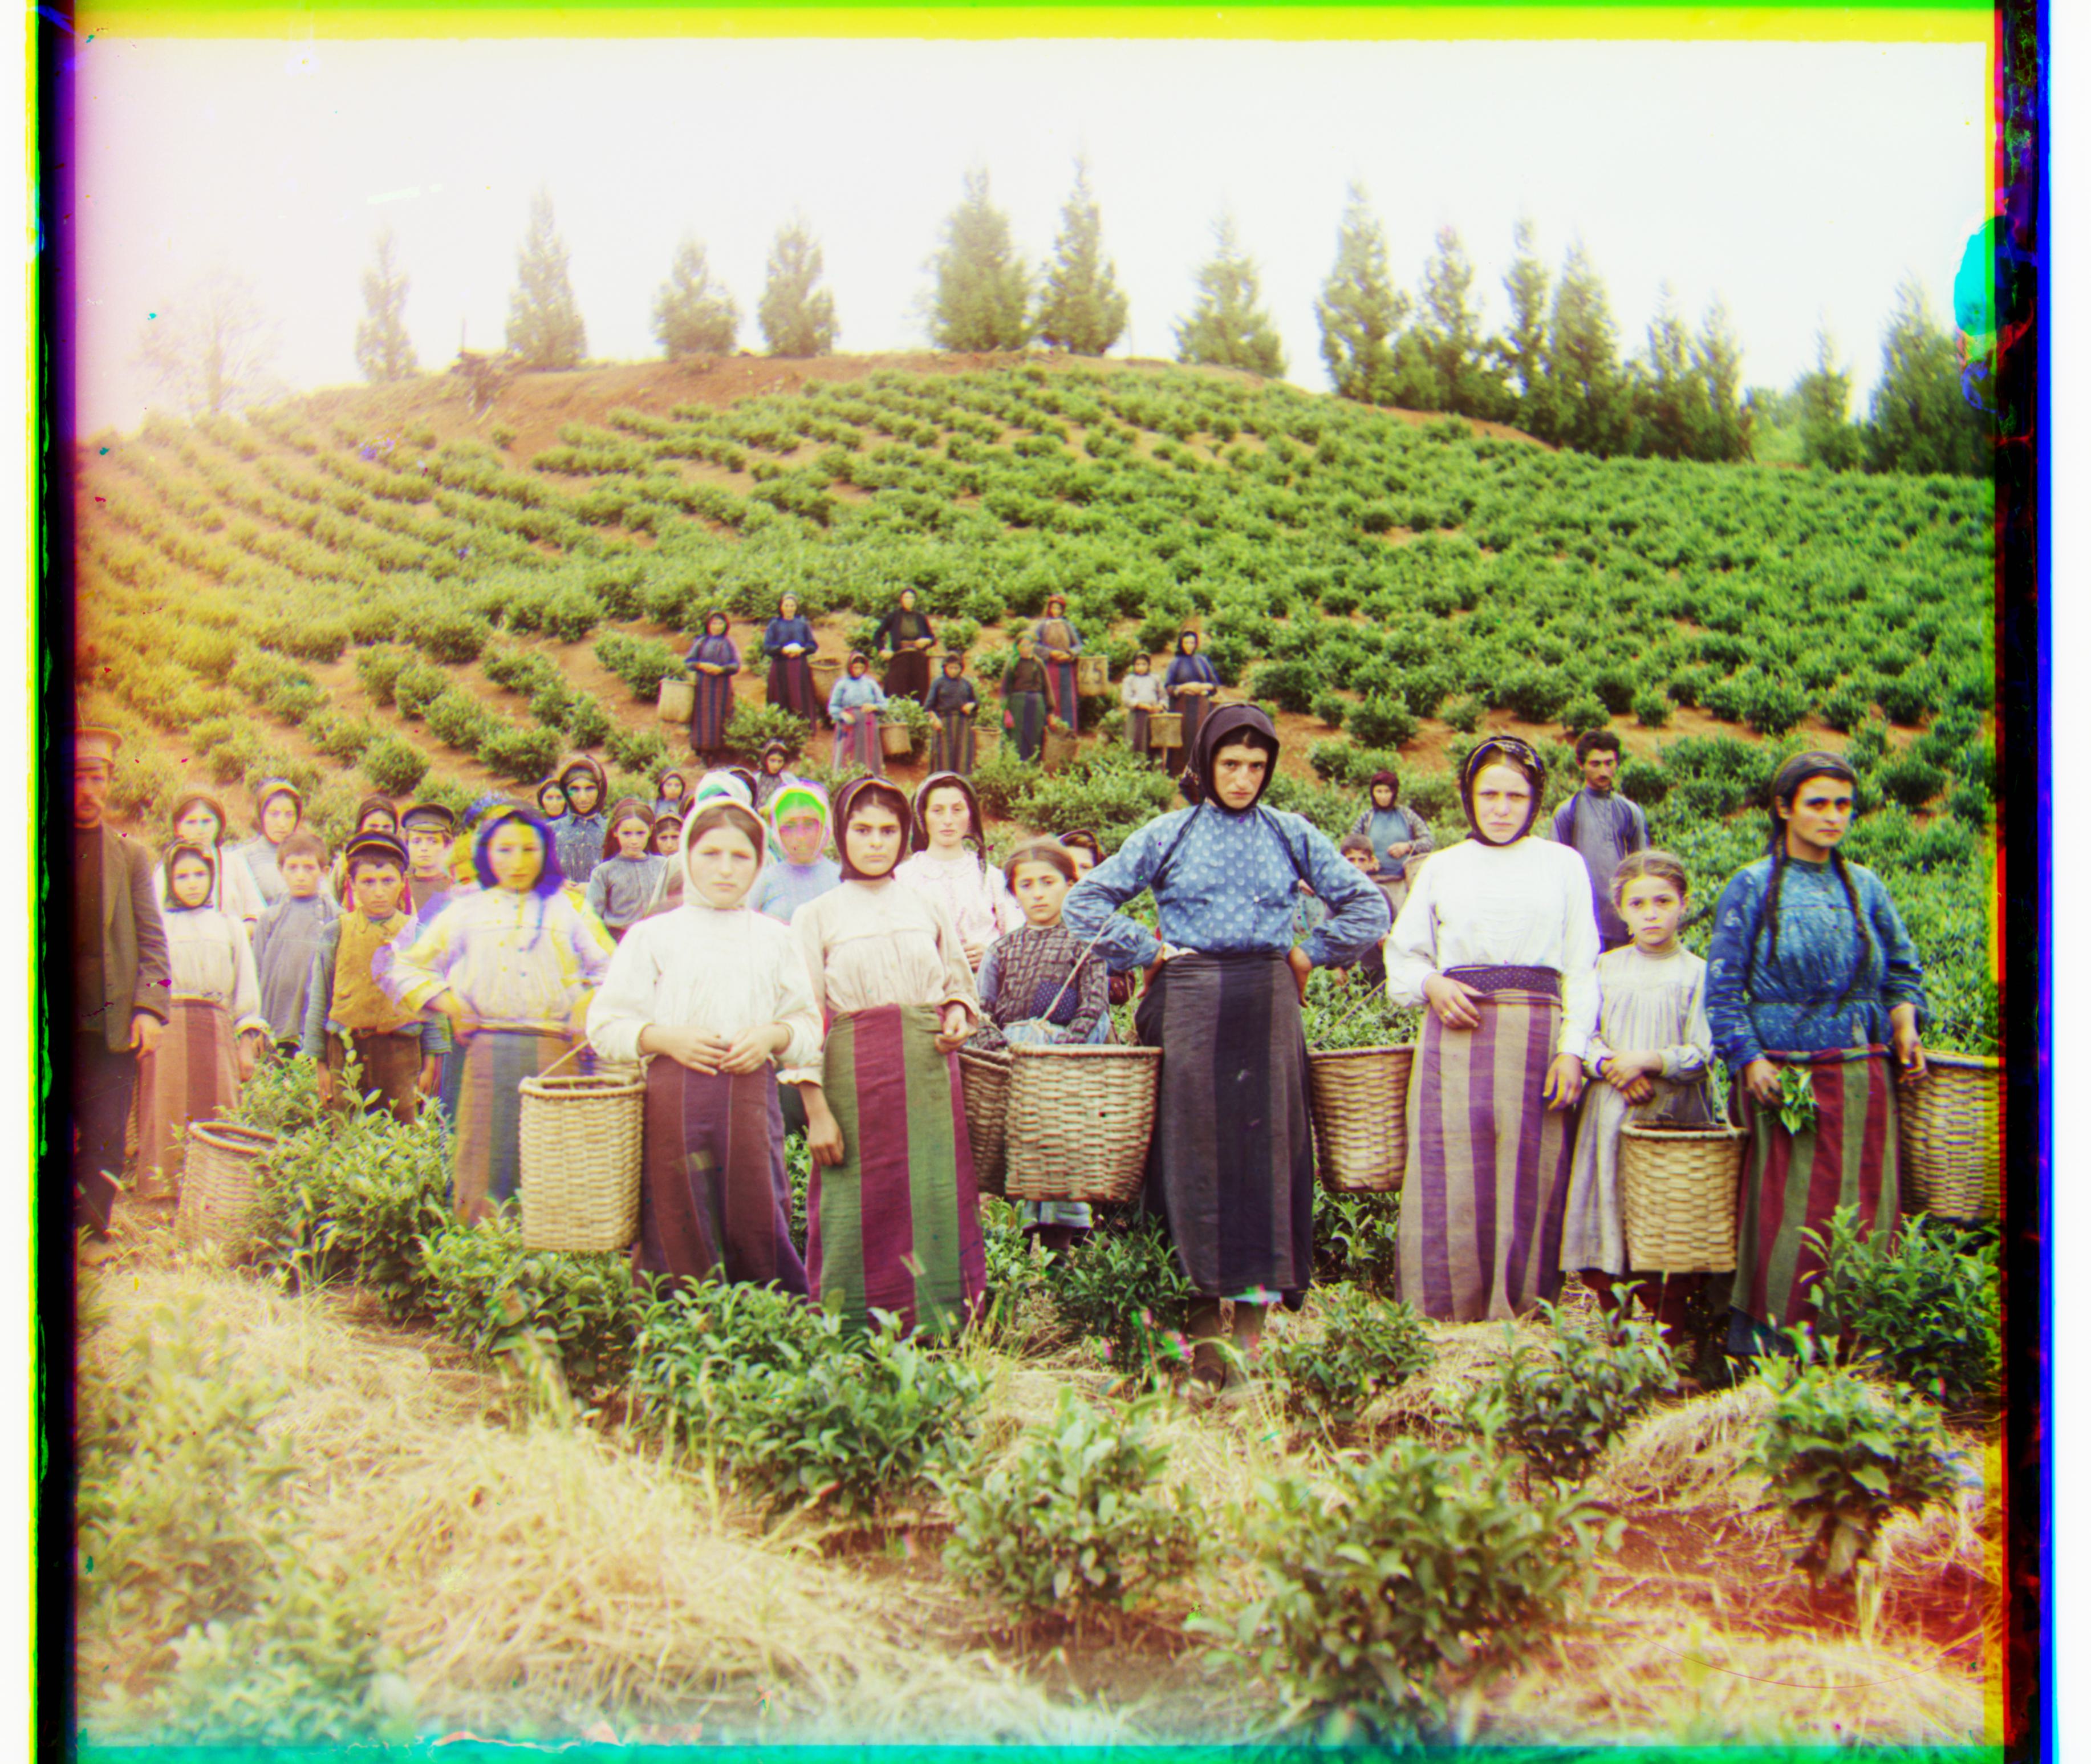
Harvesters - Blue: (-60, -16), Red: (65, -3)
Icon - Blue: (-41, -17), Red: (48, 5)
Italil - Blue: (-38, -21), Red: (39, 15)
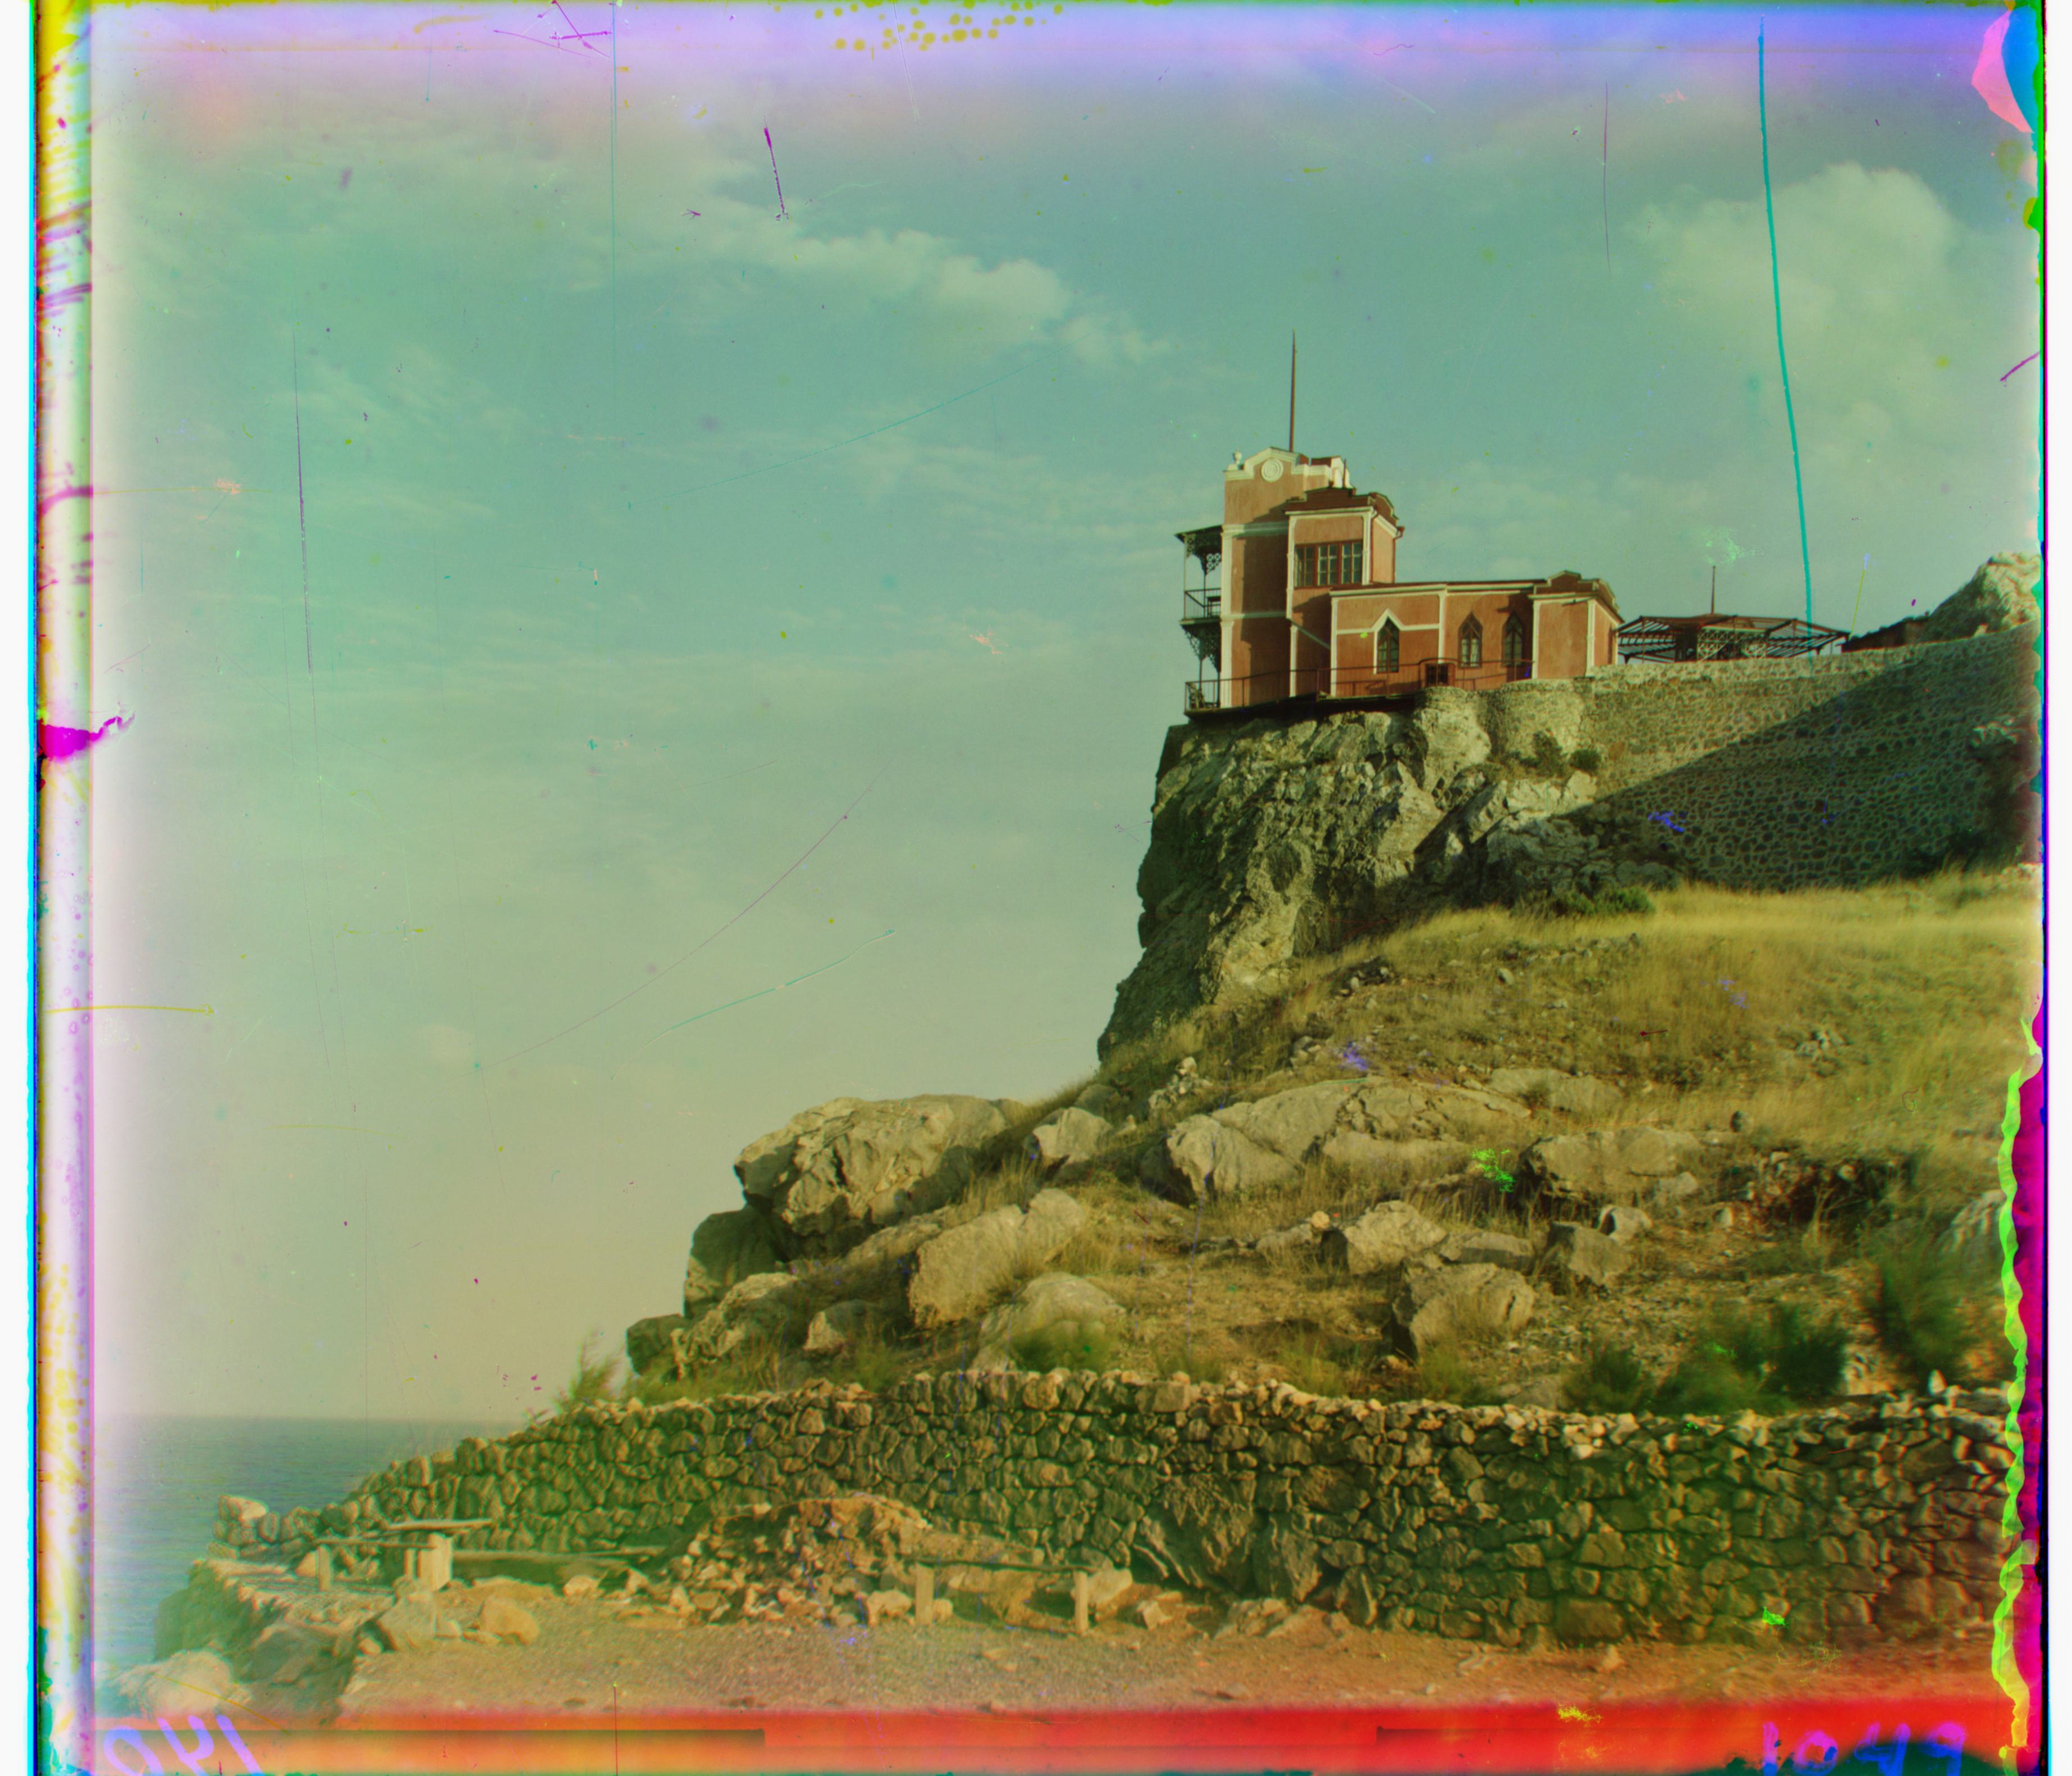
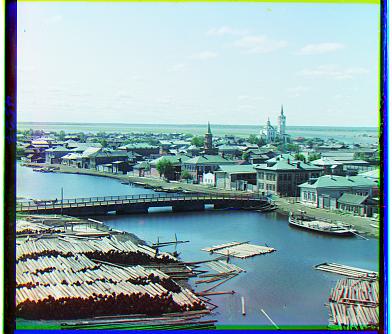
Lastochikino - Blue: (3, 2), Red: (78, -7)
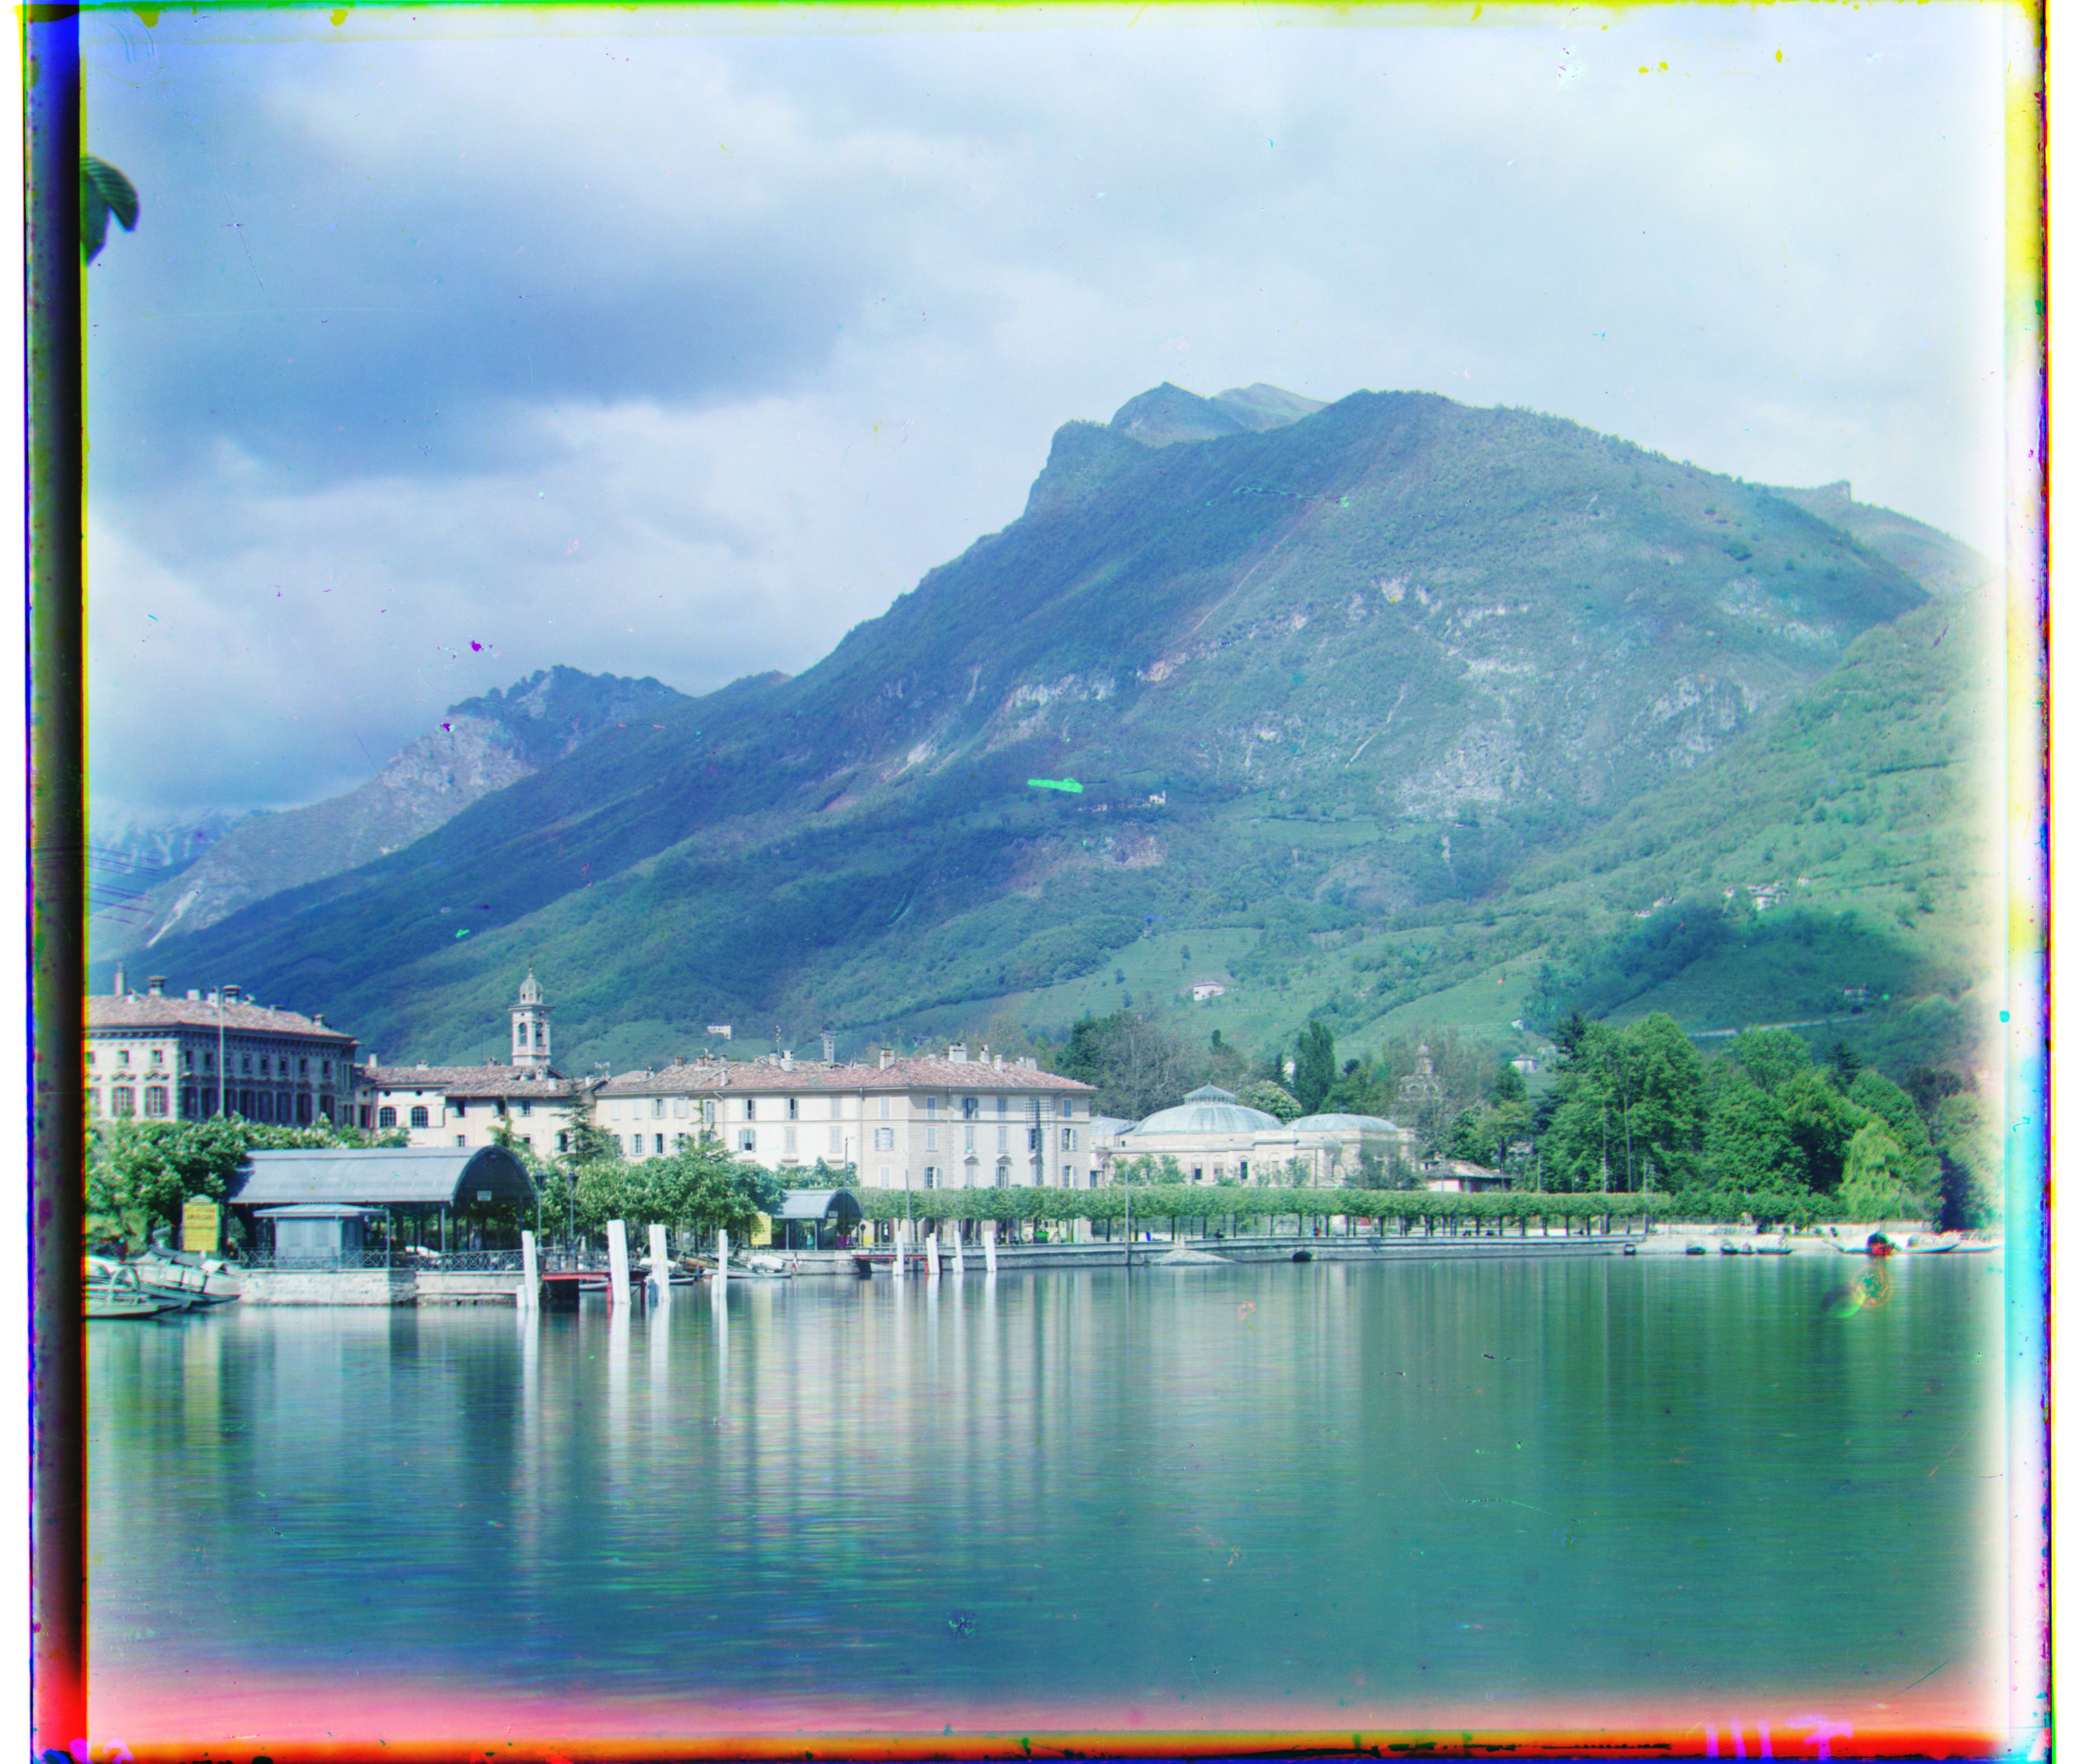
Lugano - Blue: (-41, 17), Red: (52, -13)
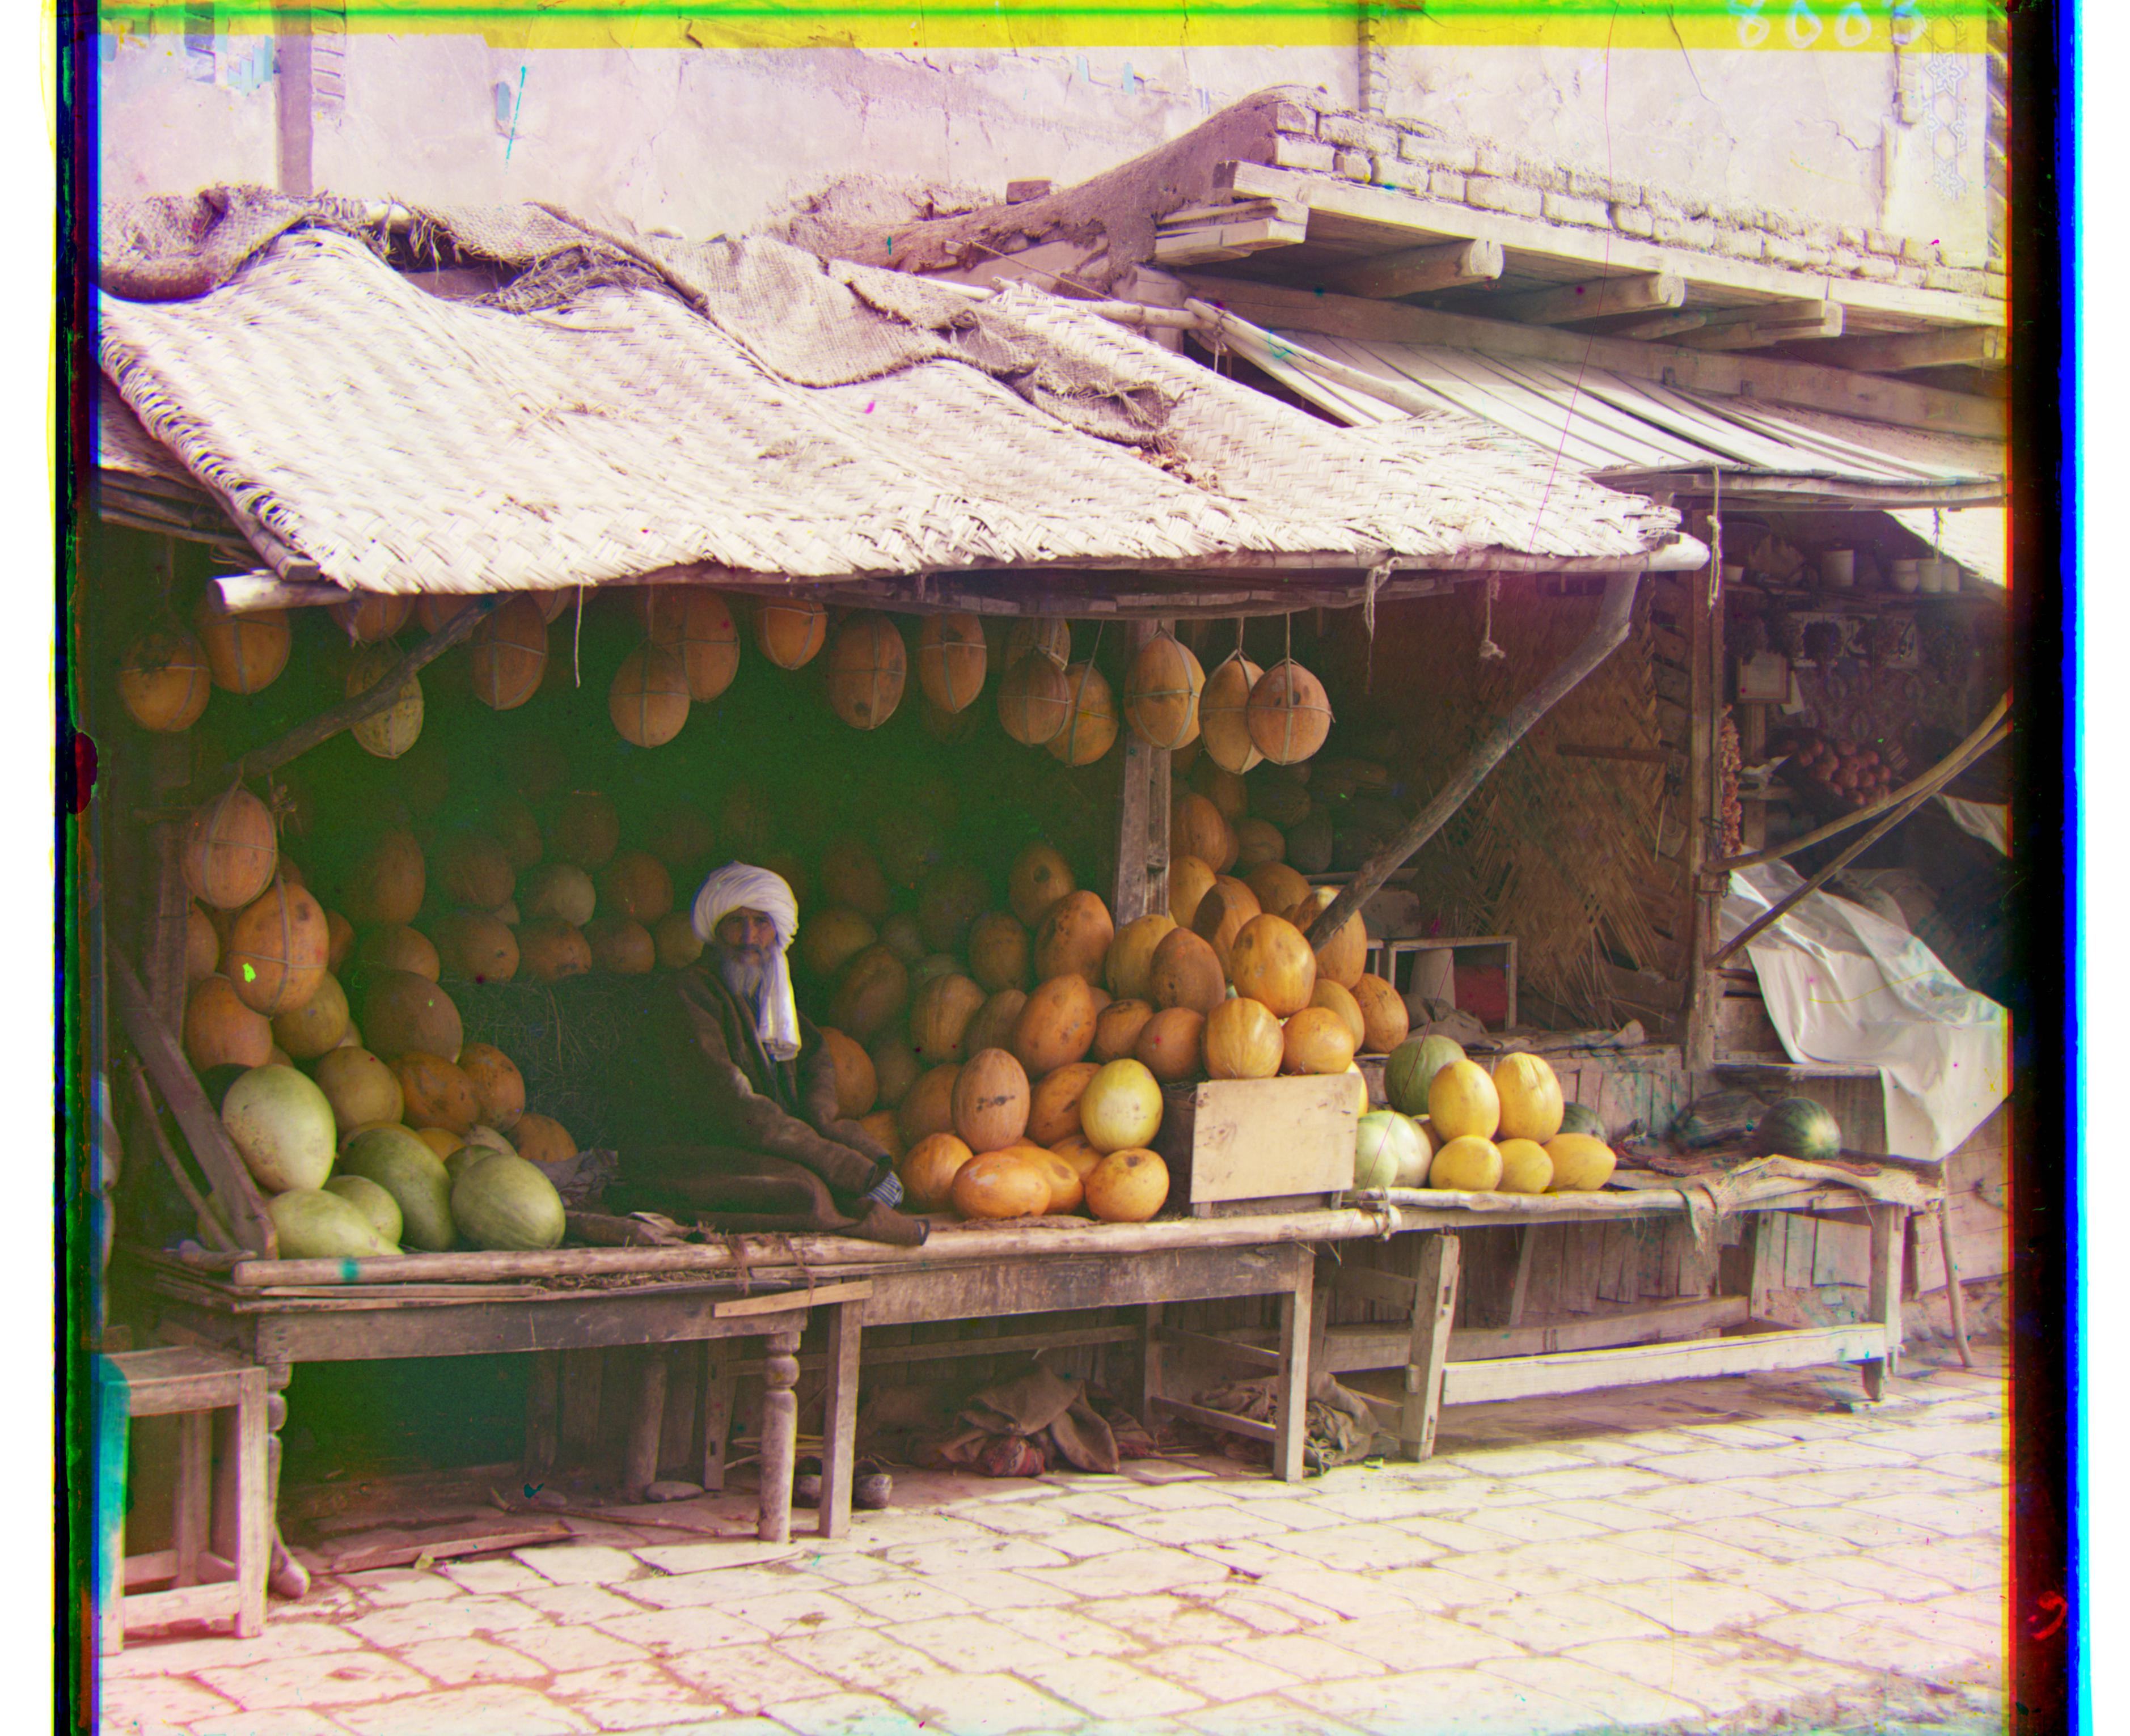
Melons - Blue: (-83, -10), Red: (96, 4)
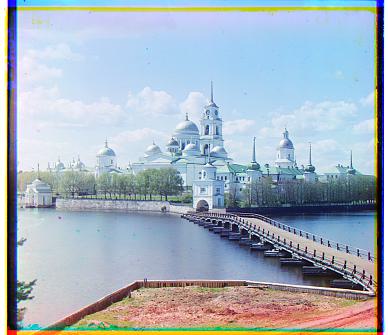
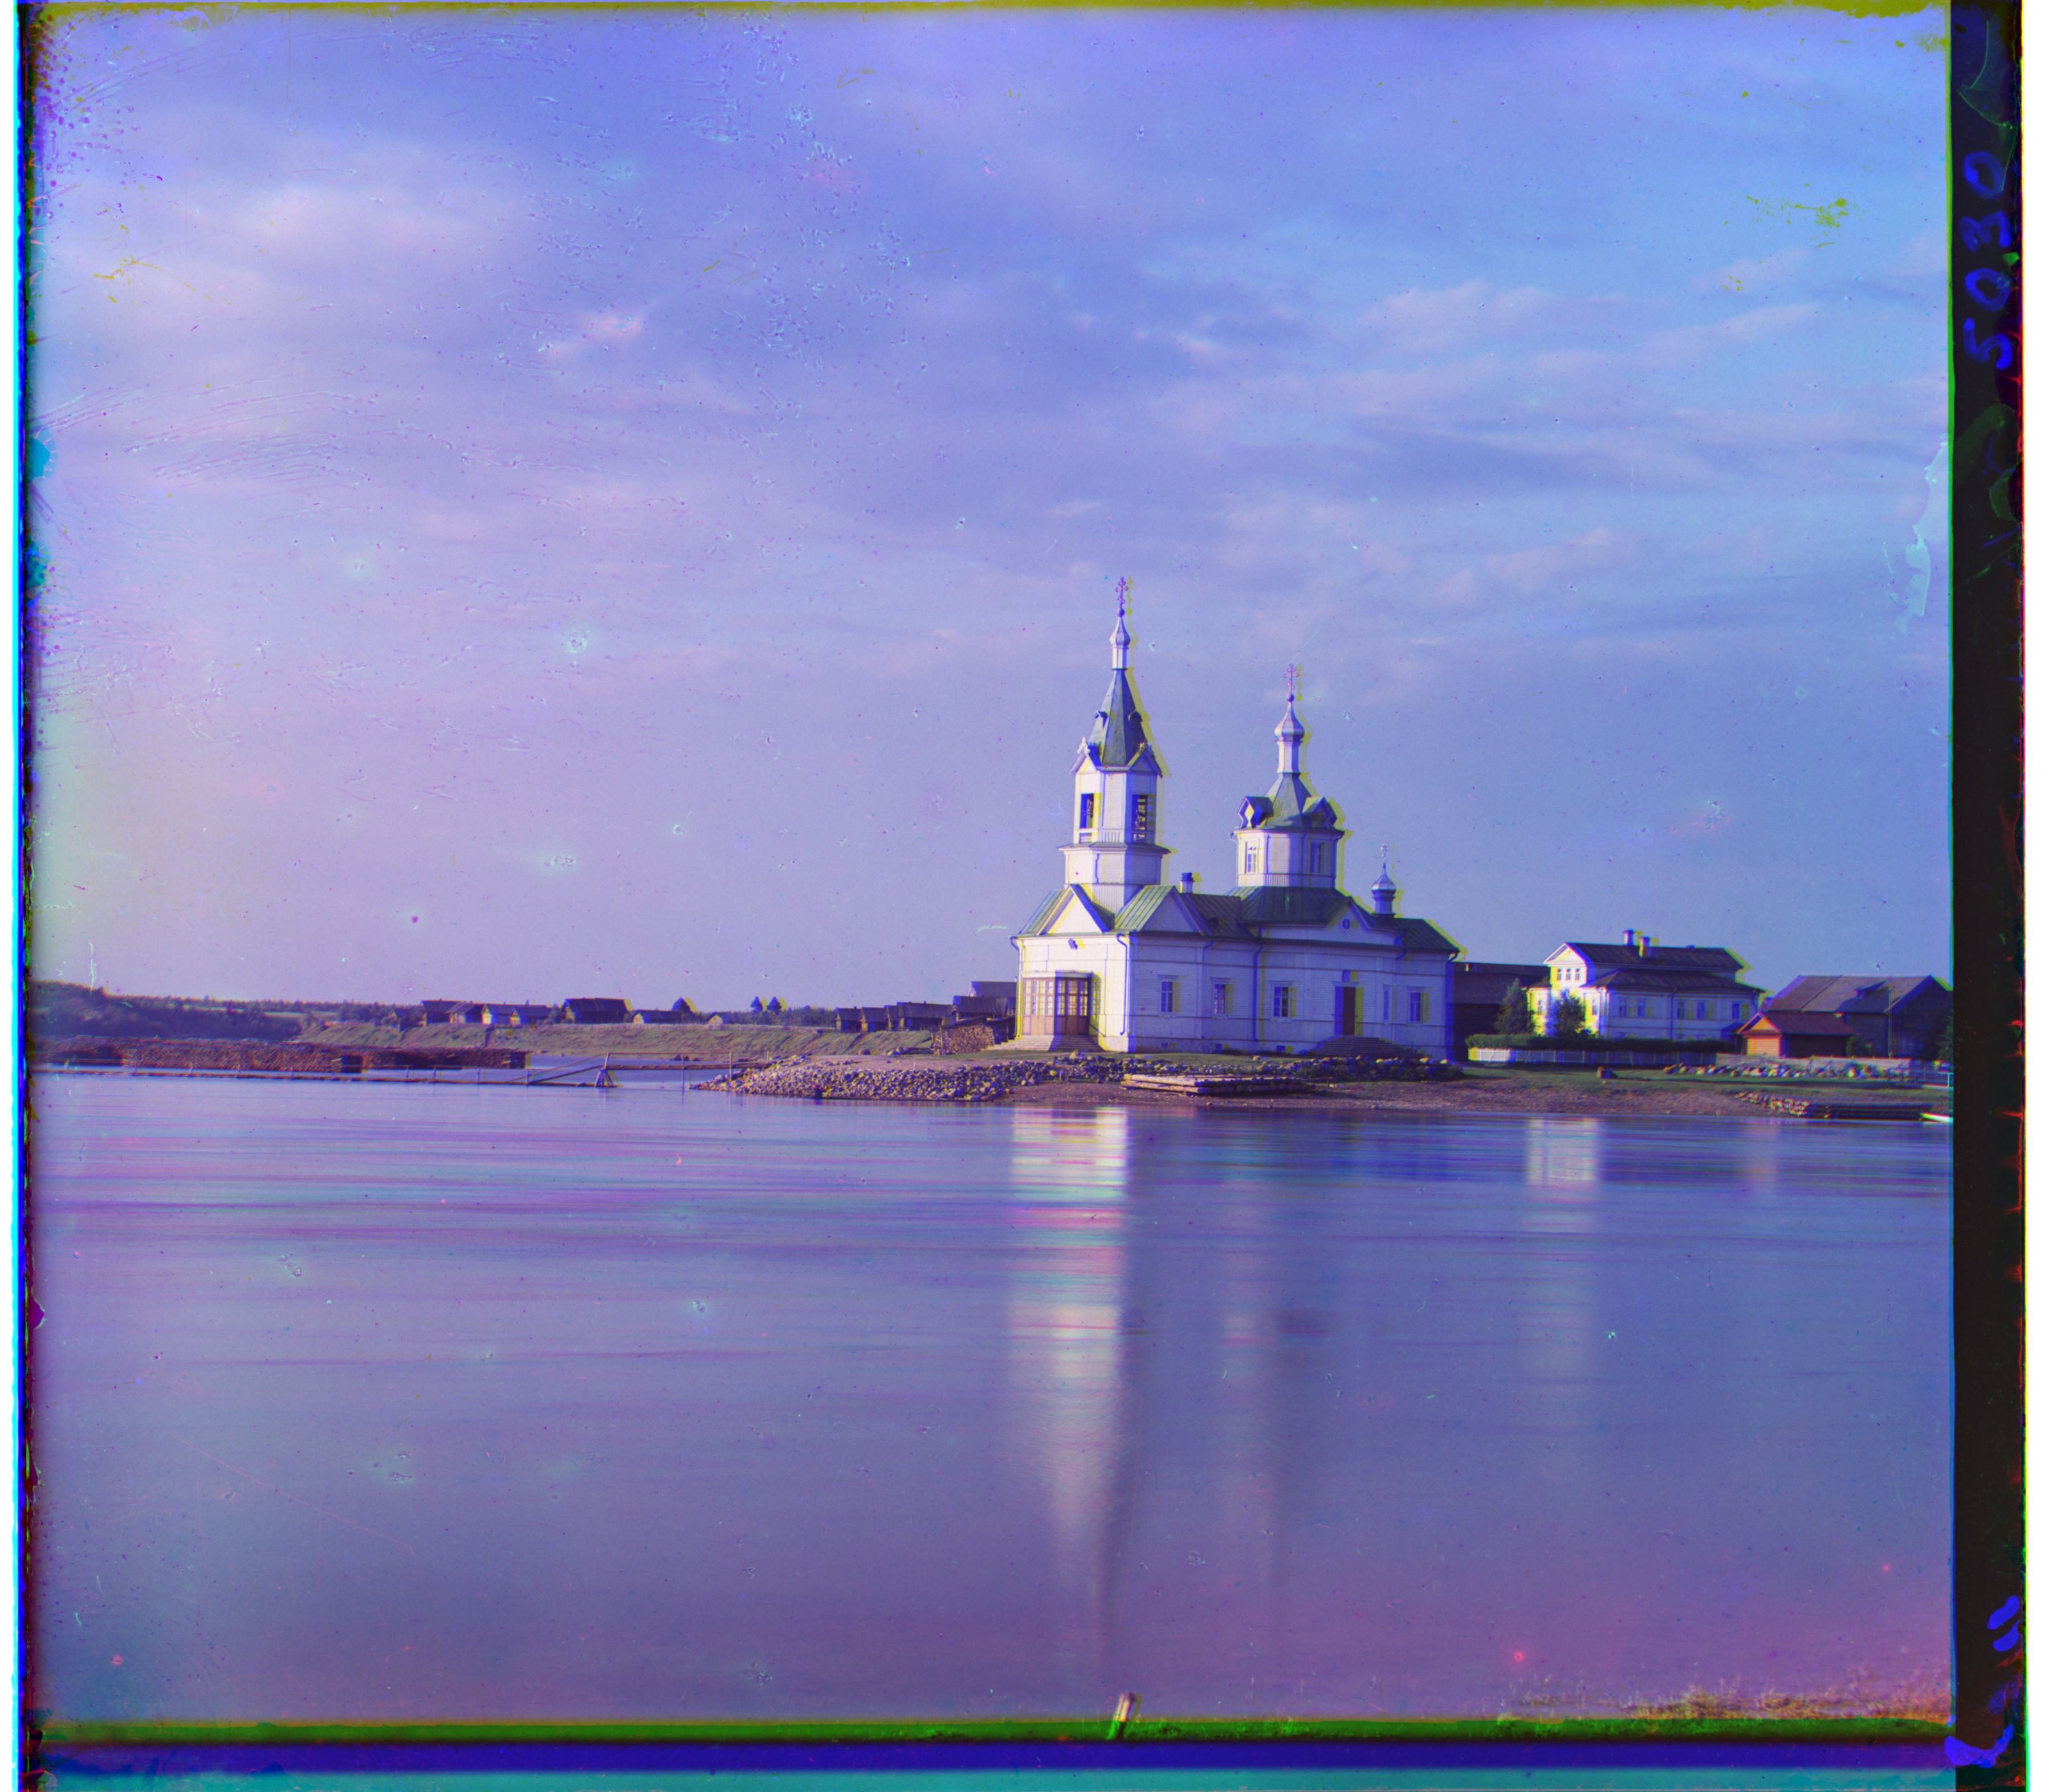
Monastery - Blue: (3, -2), Red: (6, 1)
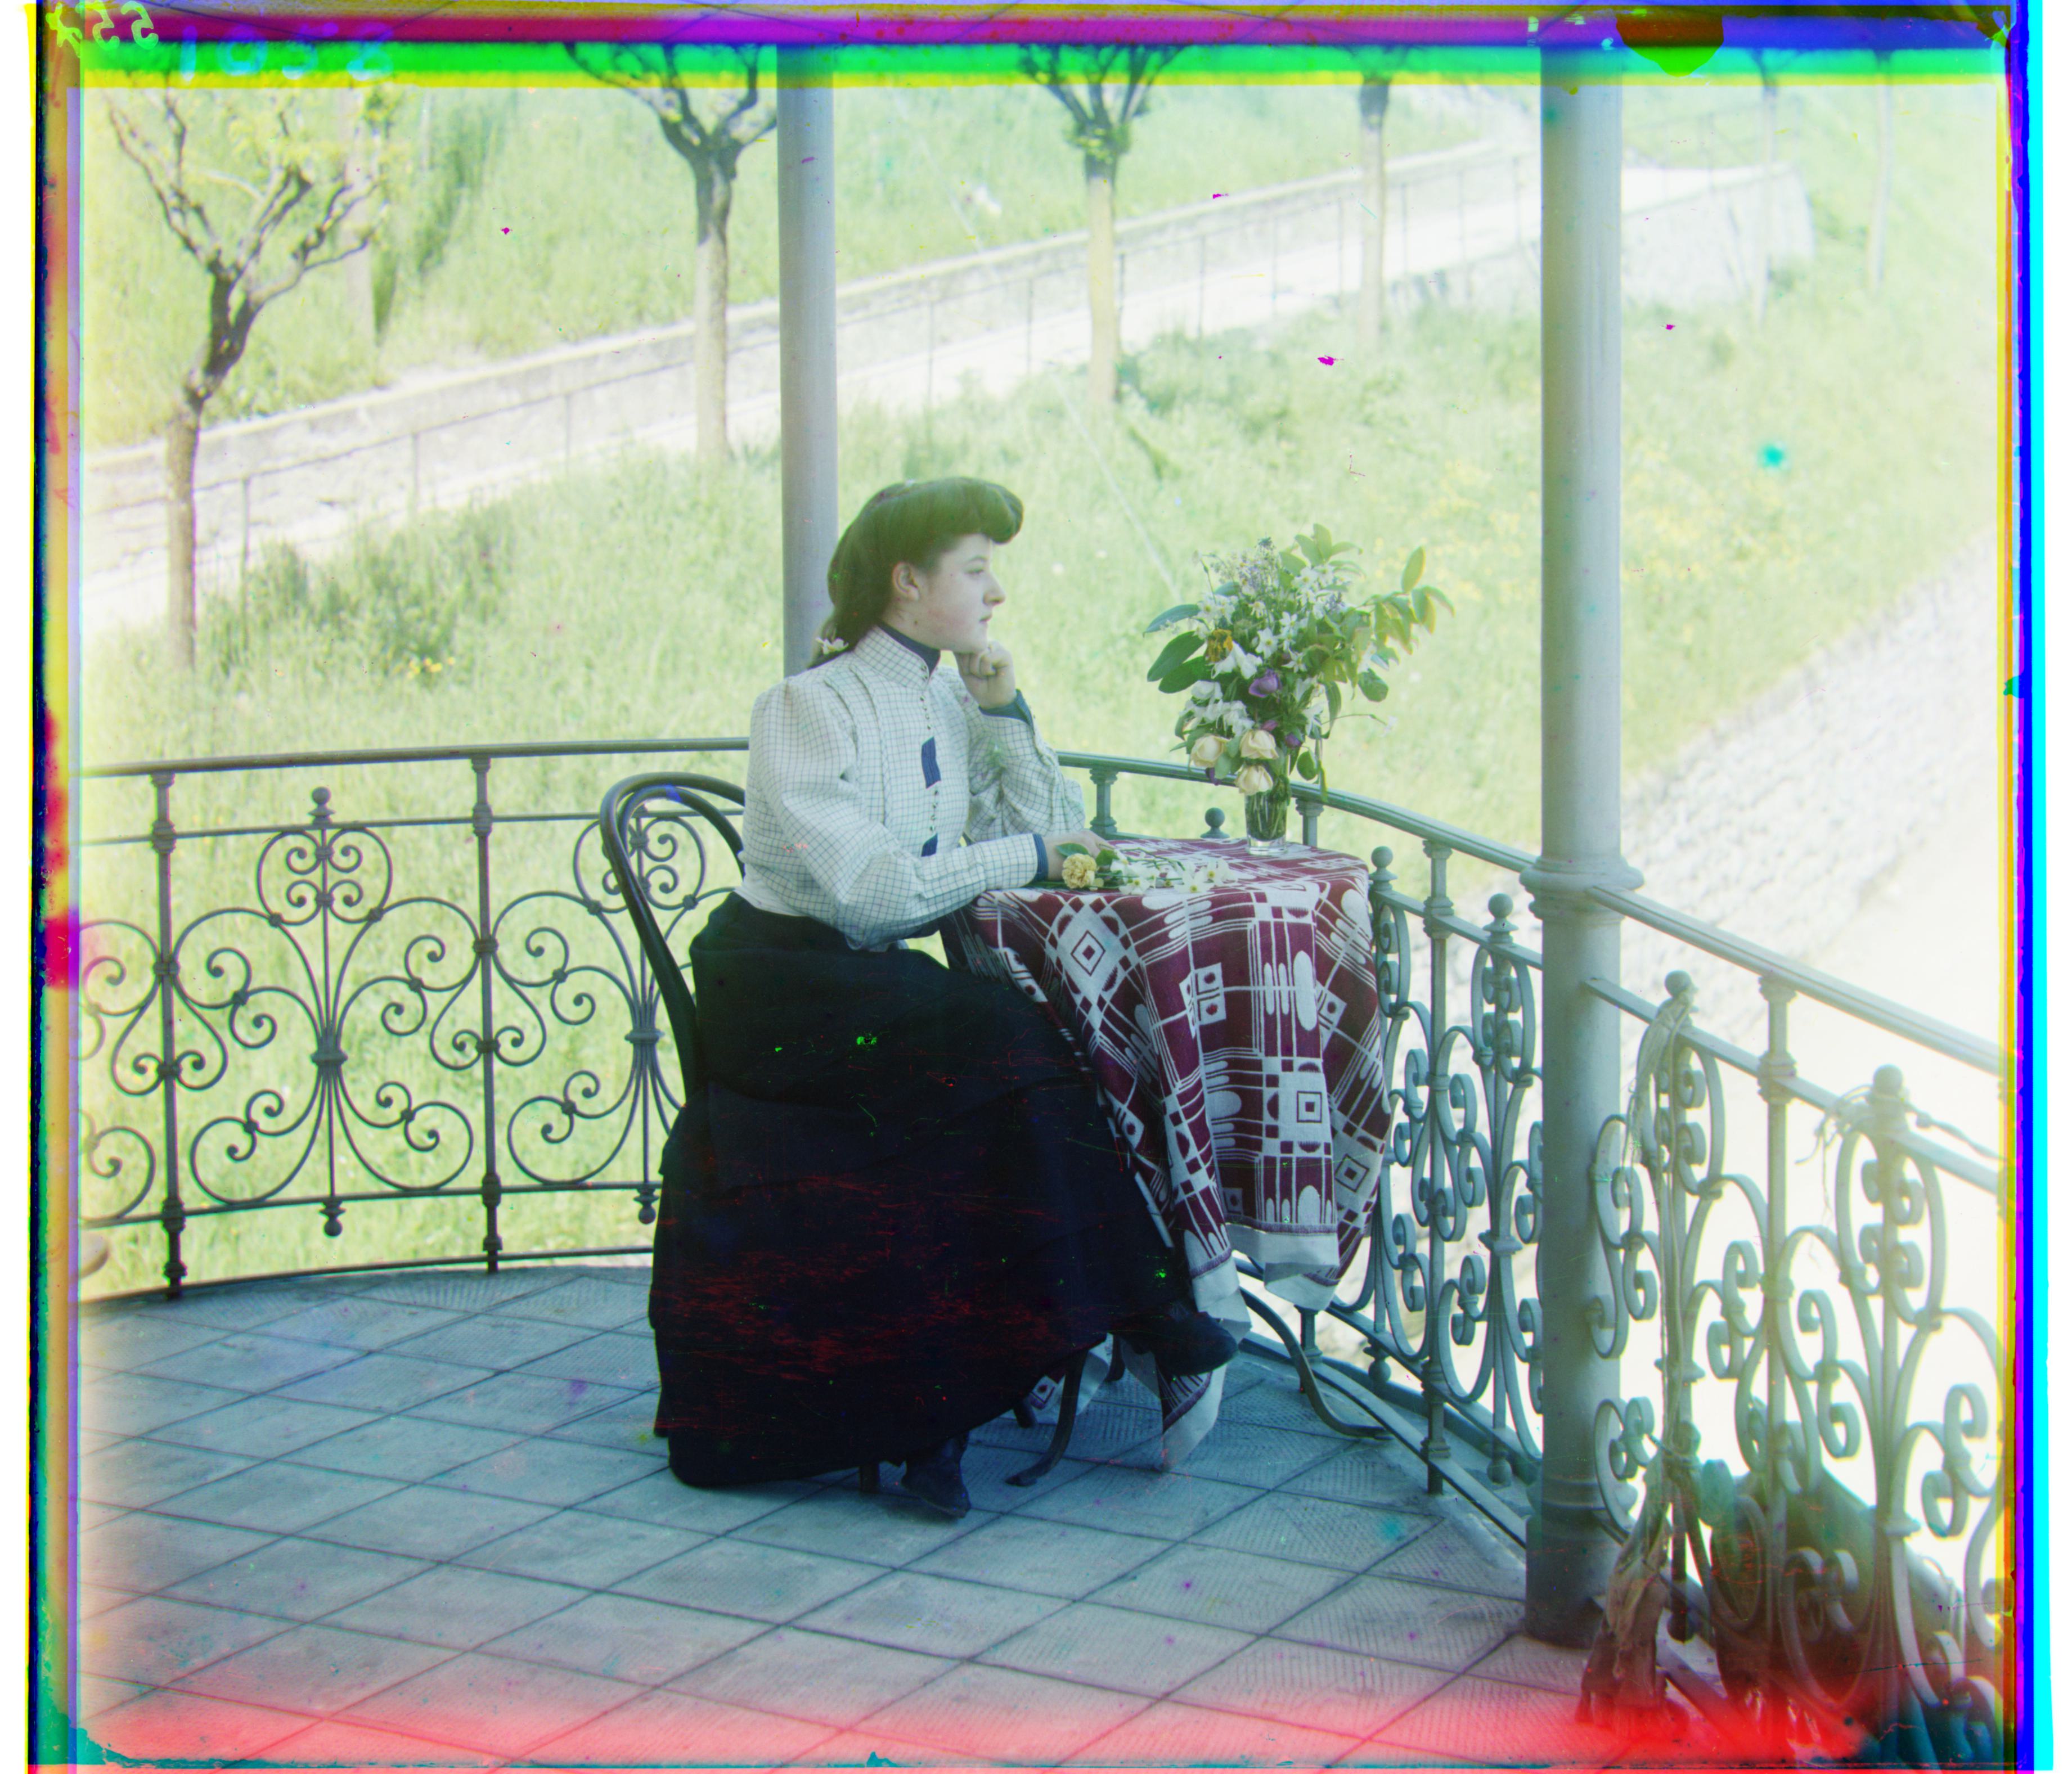
Self Portrait - Blue: (-79, -29), Red: (98, 8)
Siren - Blue: (-49, 7), Red: (47, -18)
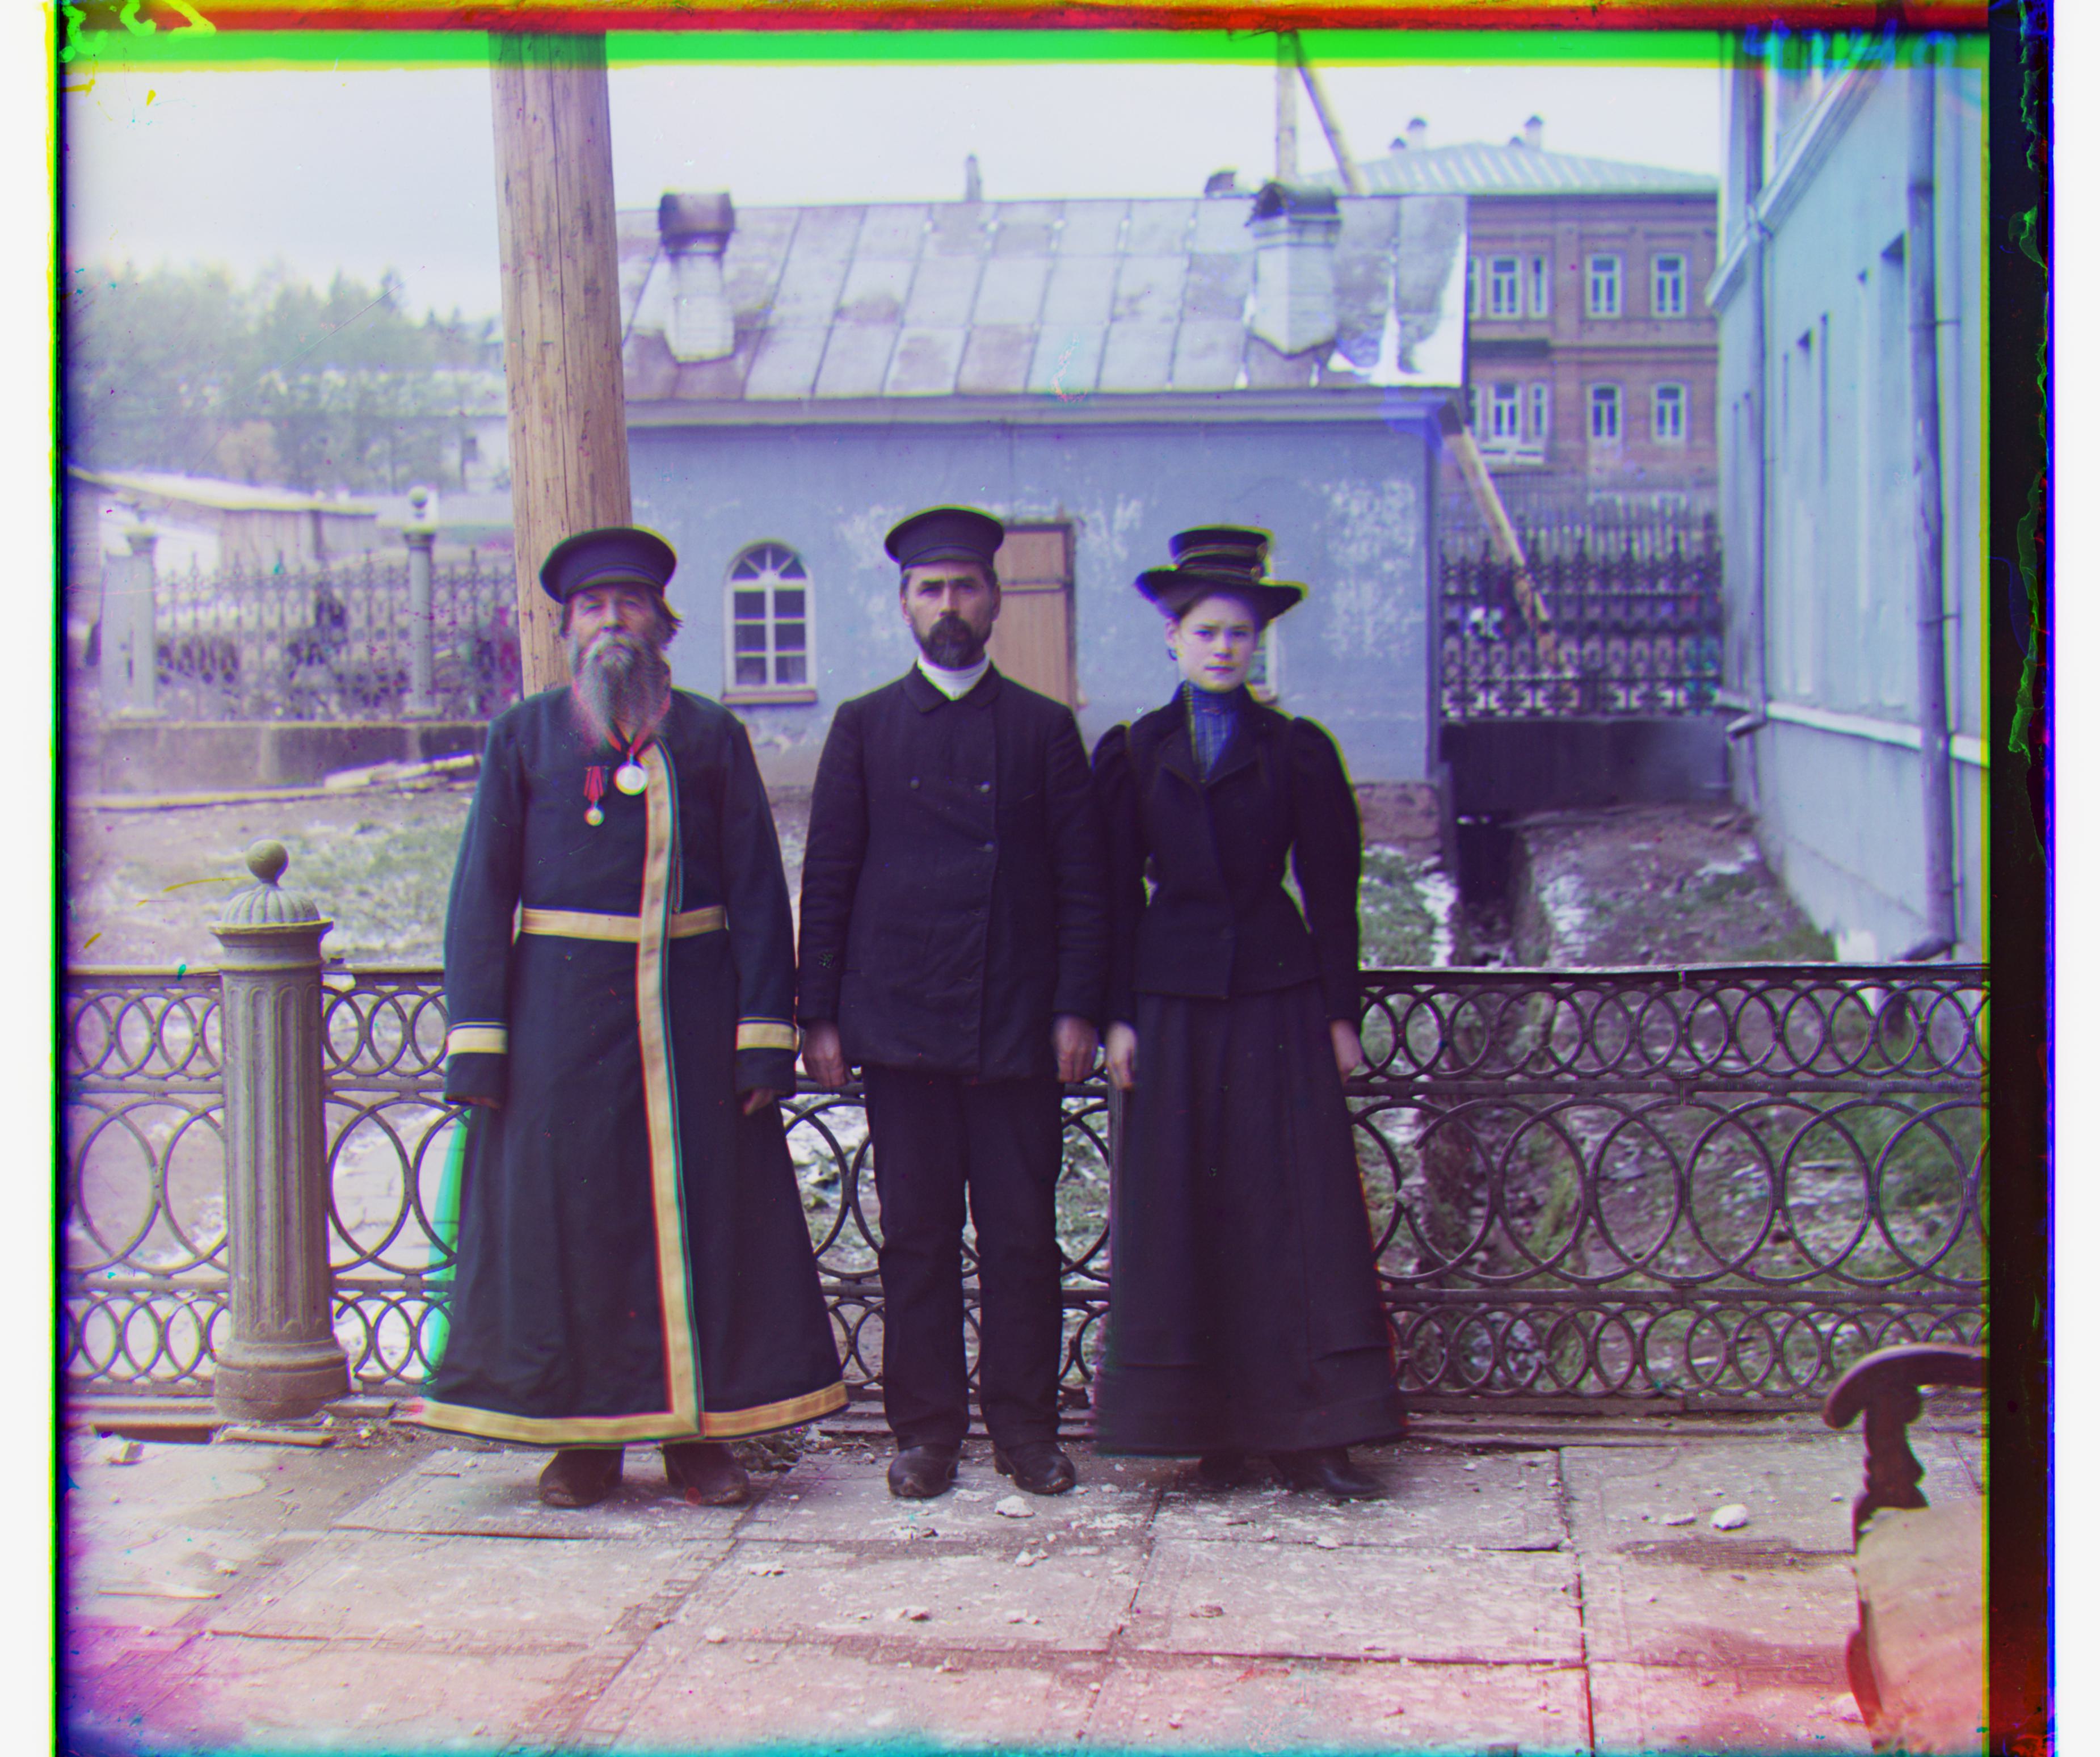
Three Generations - Blue: (-55, -13), Red: (58, -2)
Tobolsk - Blue: (-3, -3), Red: (4, 1)
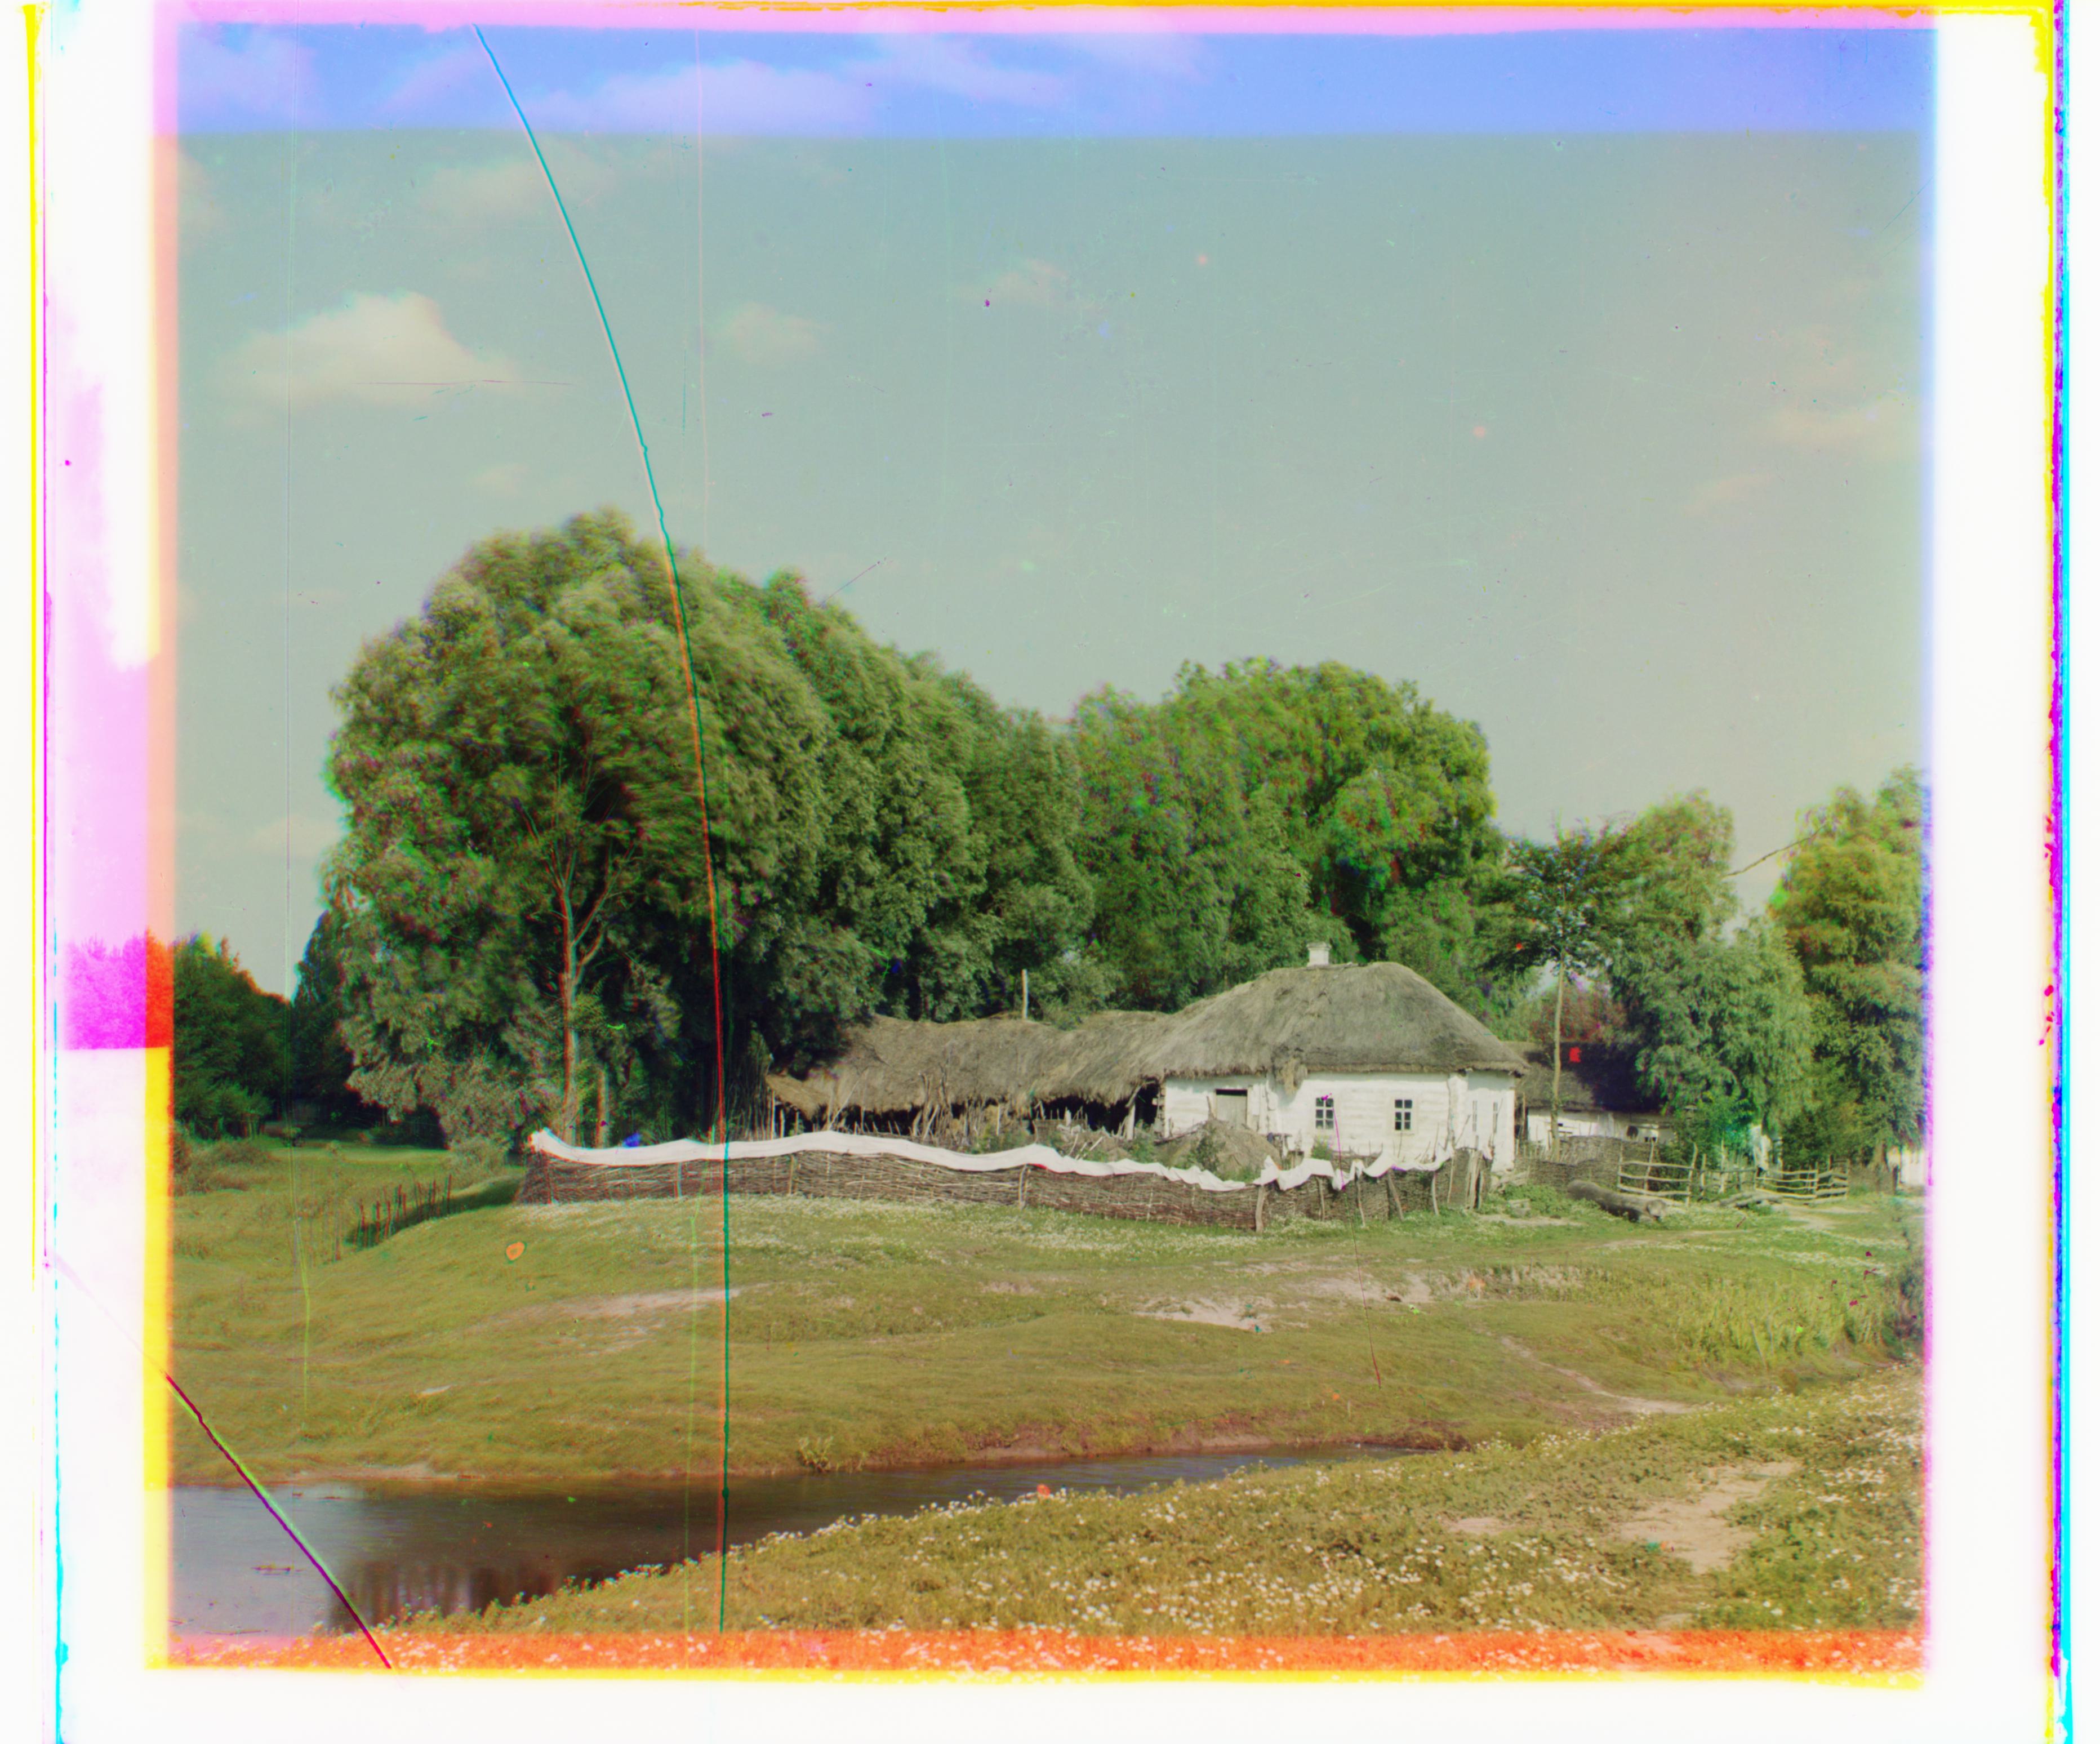
Extra Images
Here are some extra images I made using the .tif files pulled from that website. THe image names might not be fully accurate.
Building - Blue: (-39, 7), Red: (89, -7)
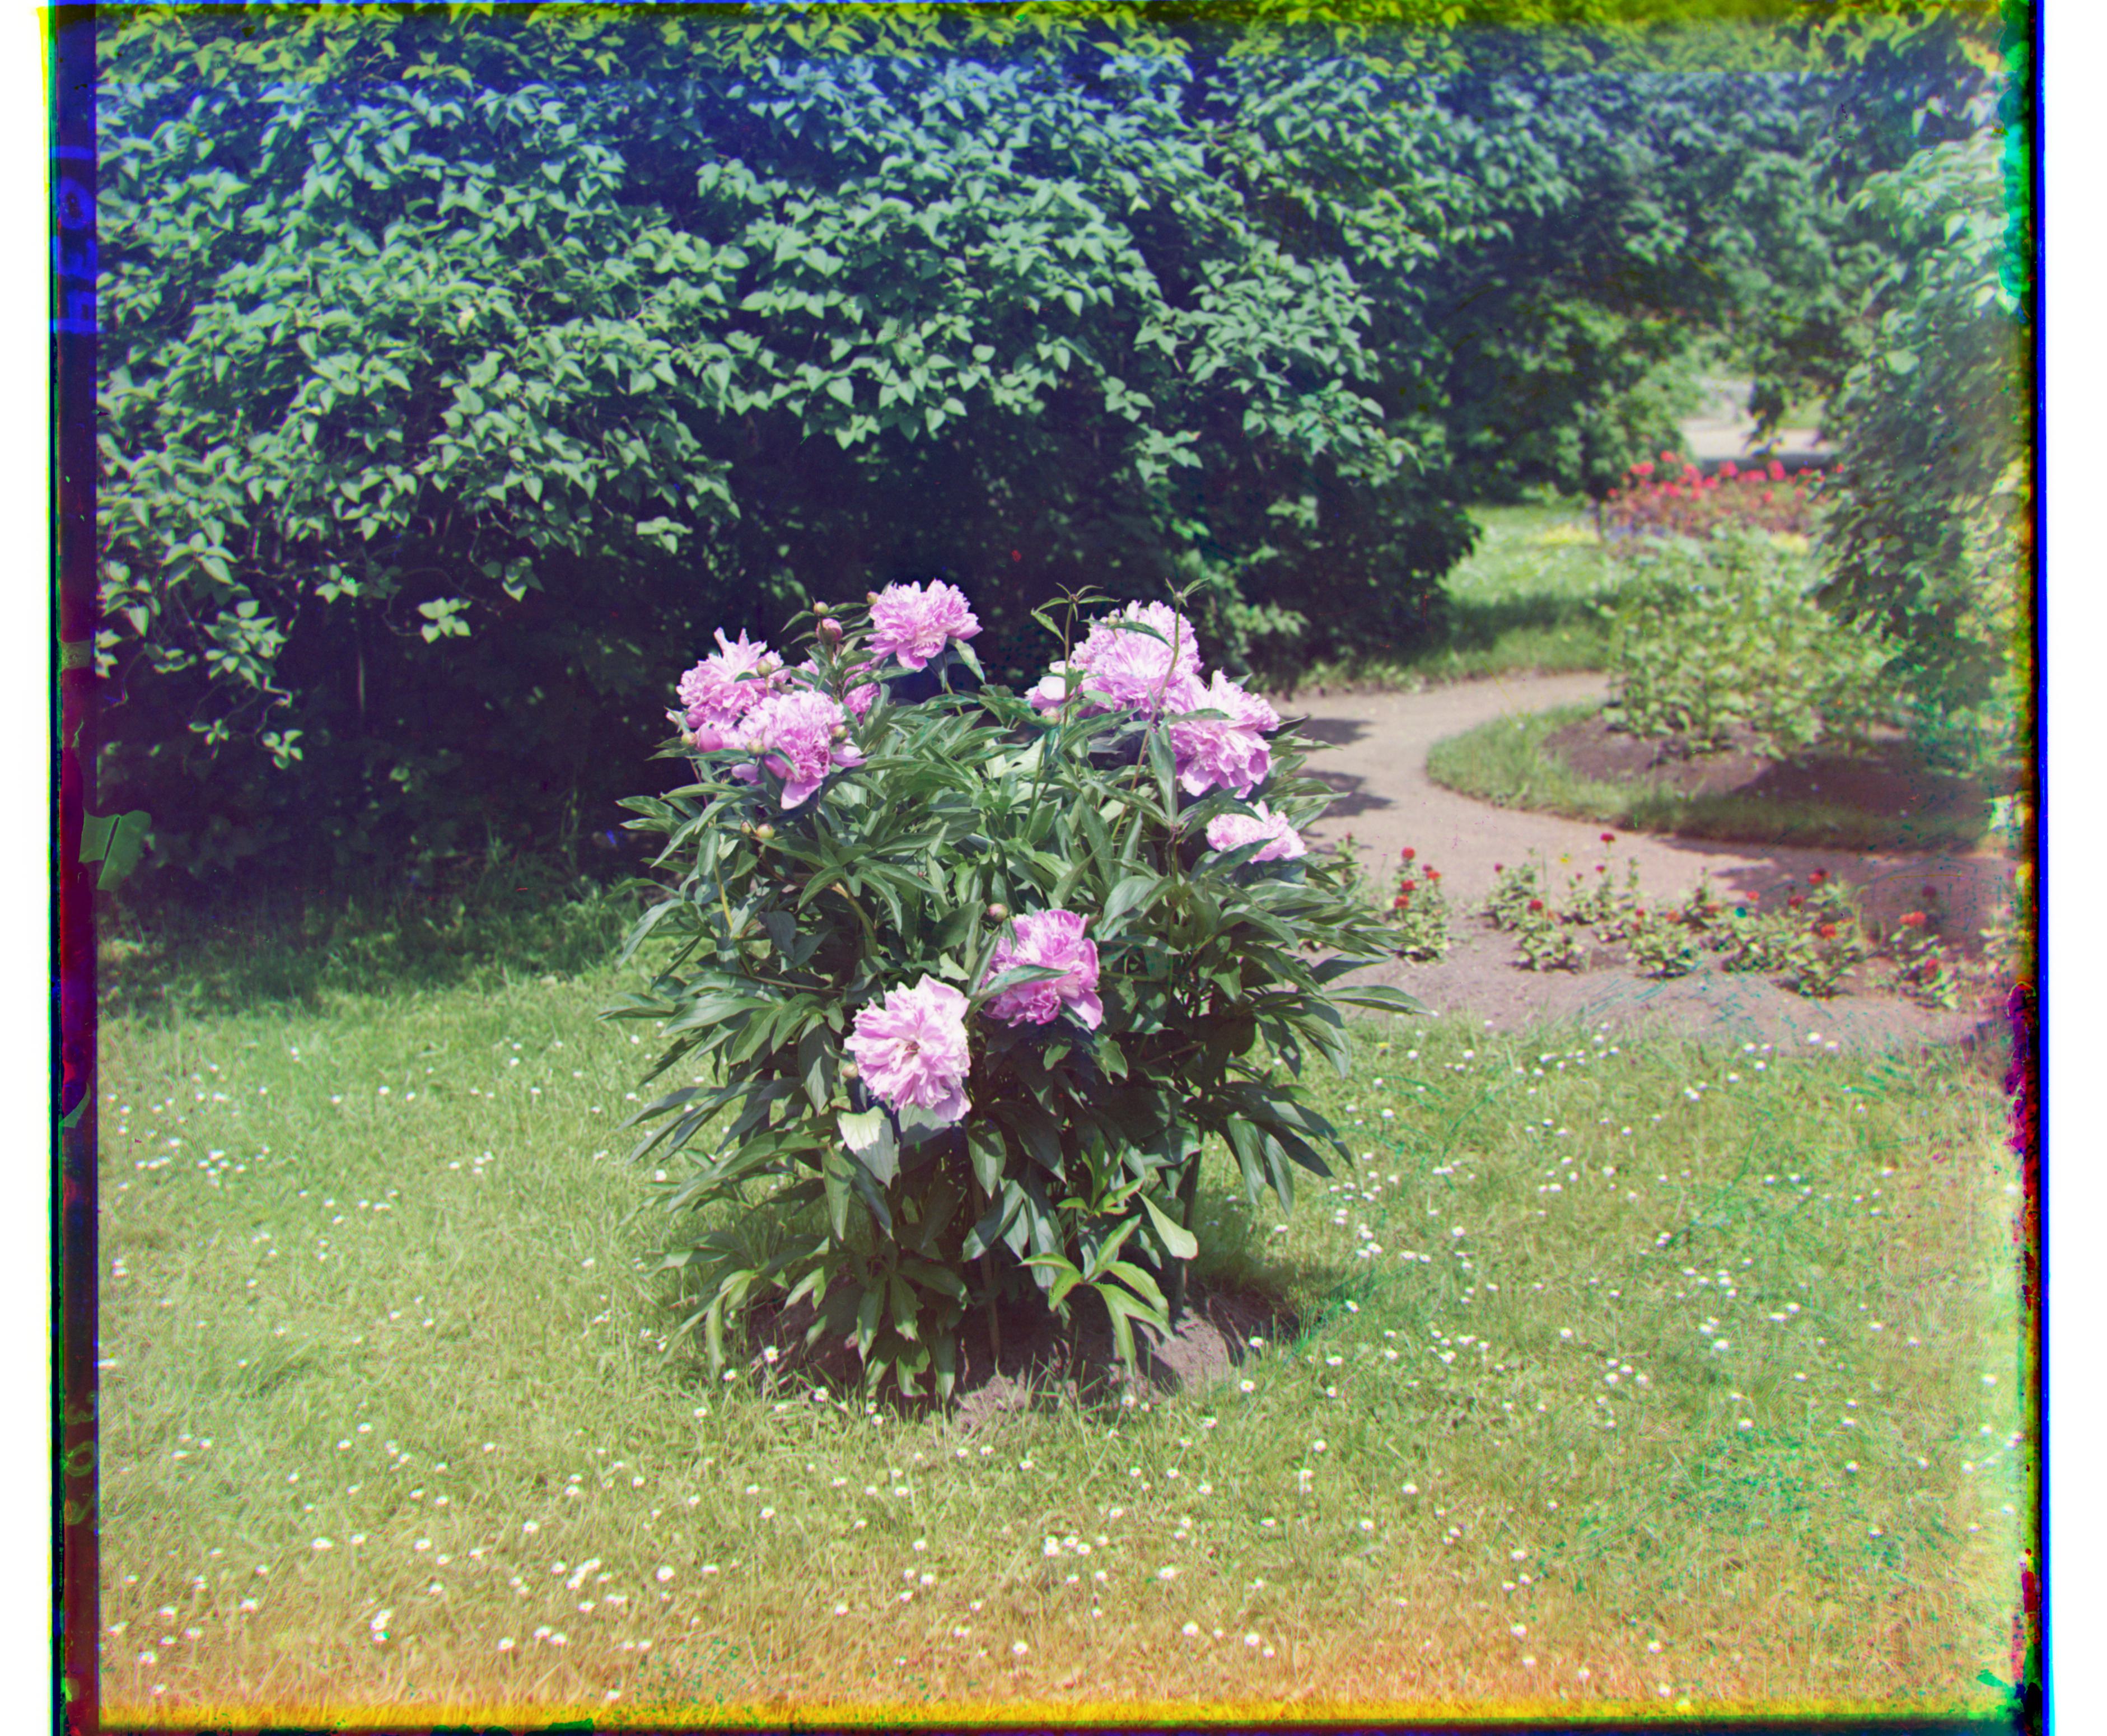
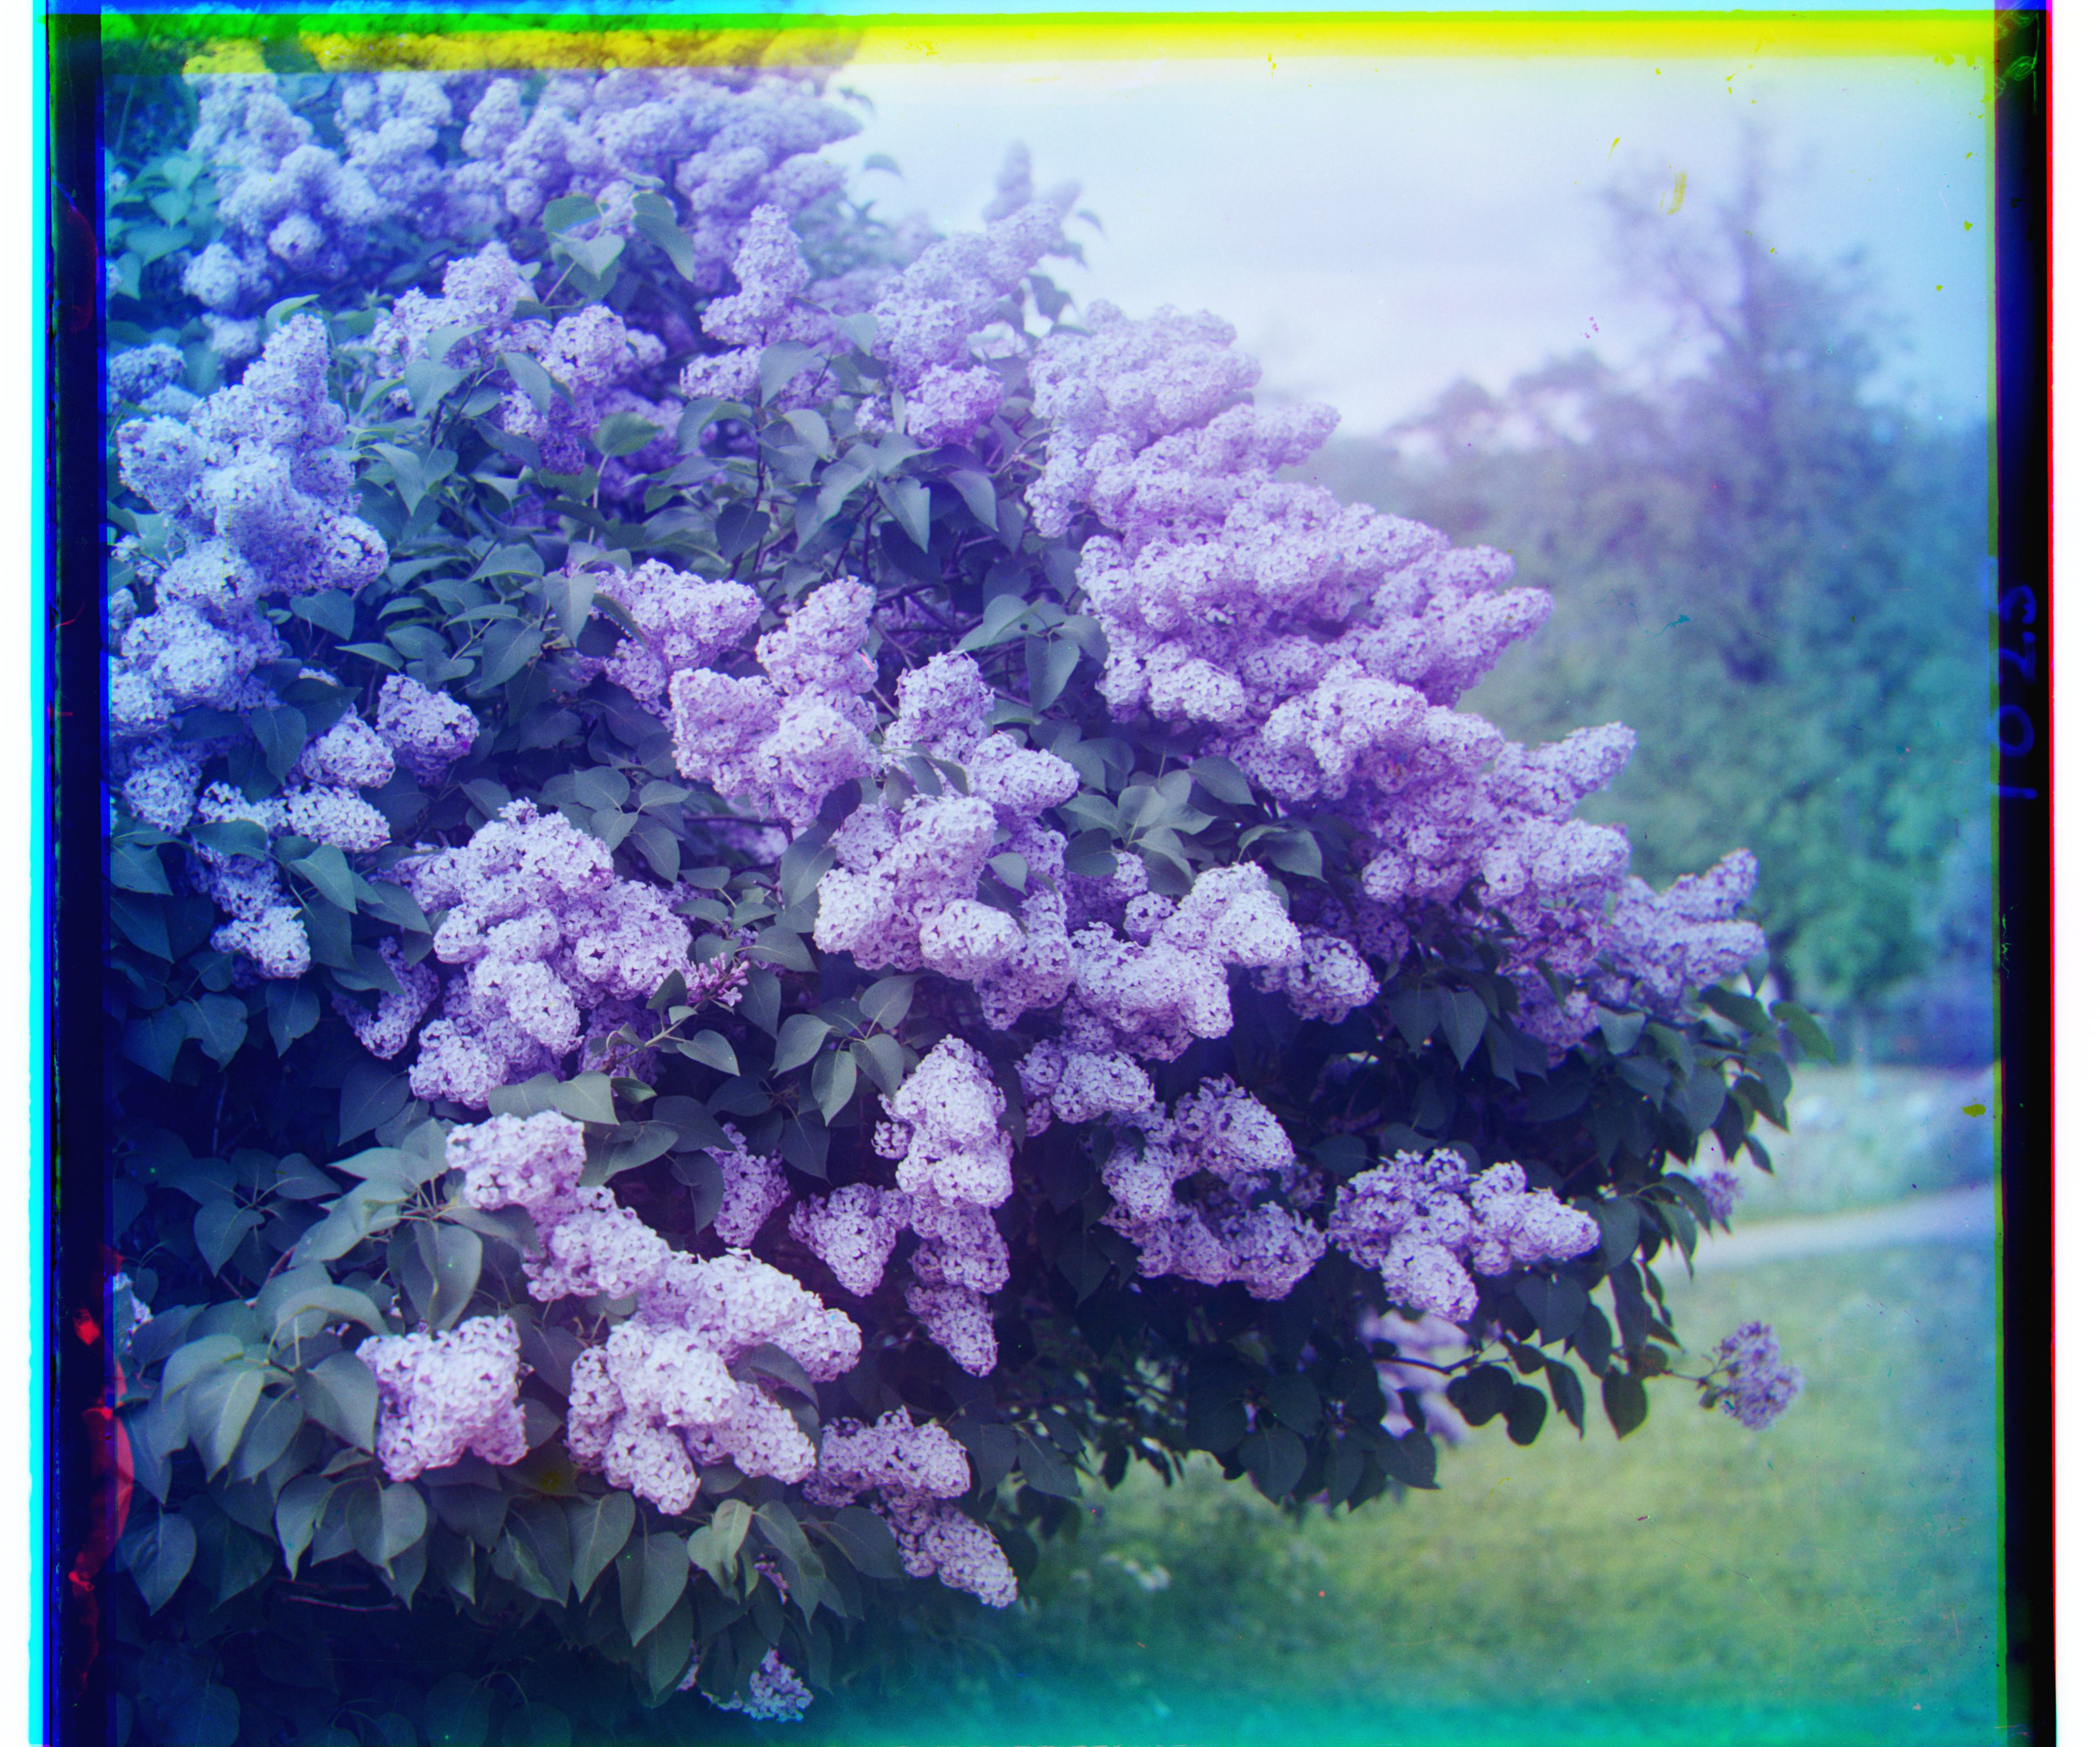
Piony - Blue: (-51, -3), Red: (54, -8)
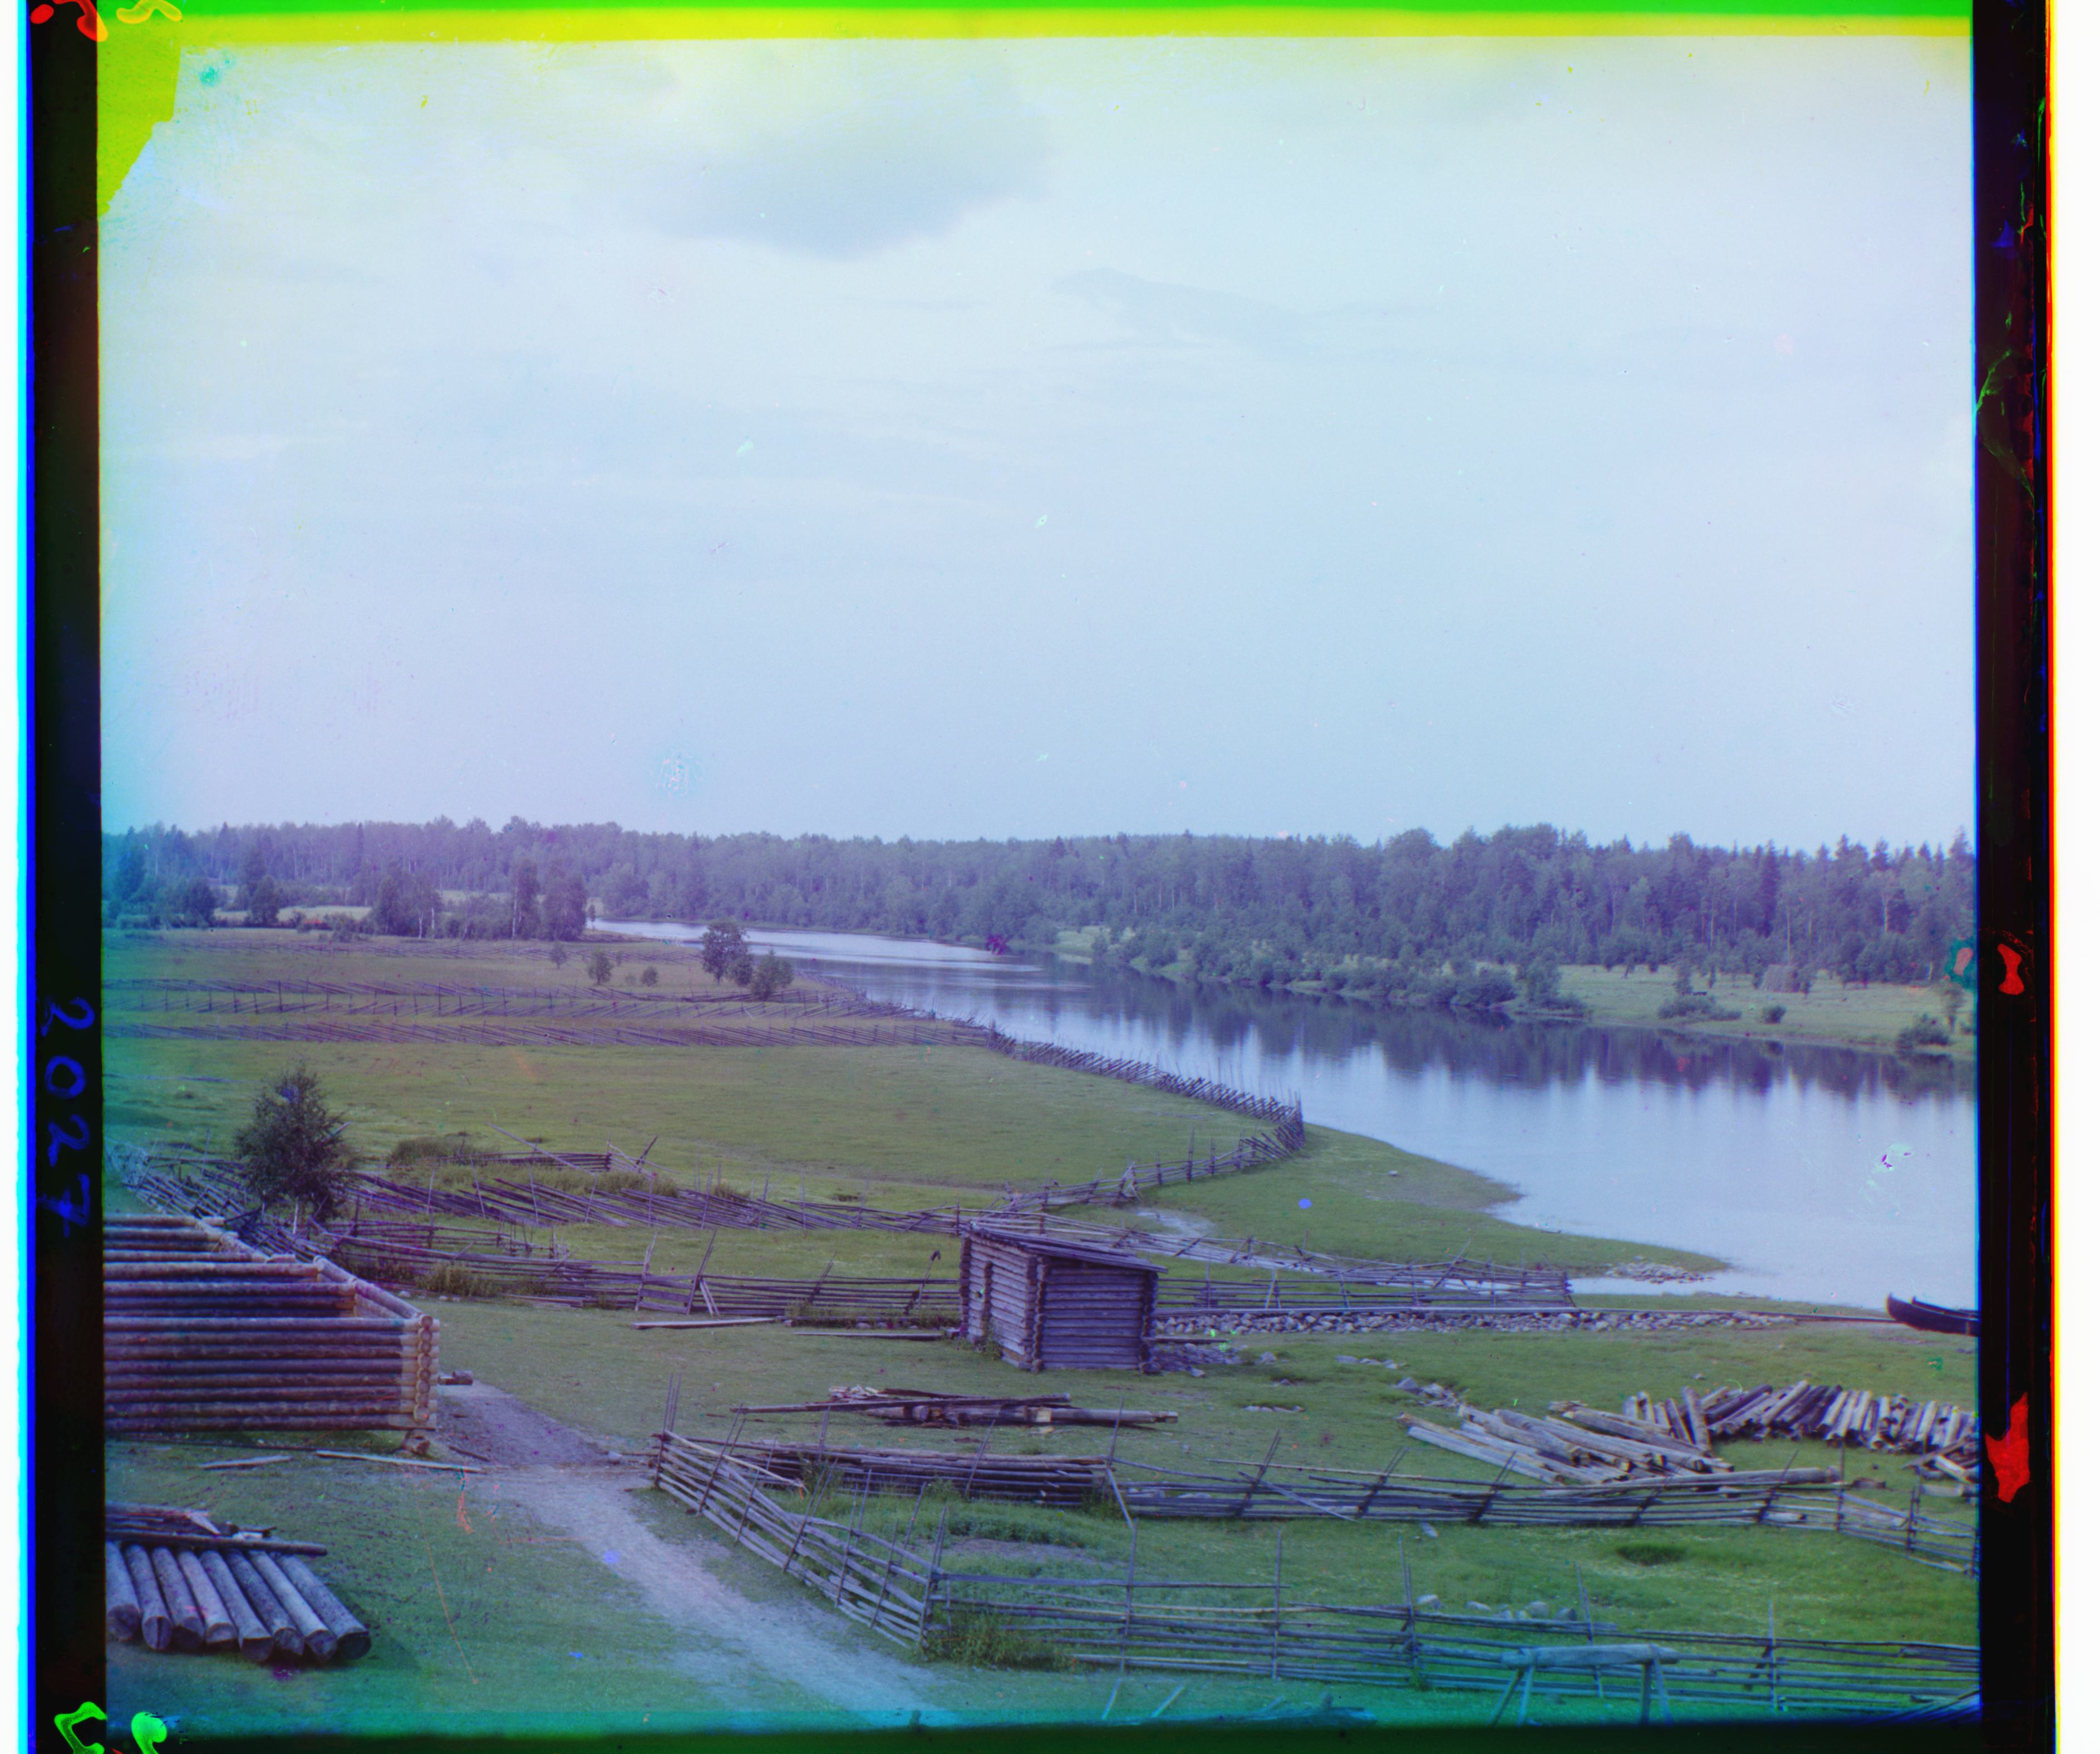
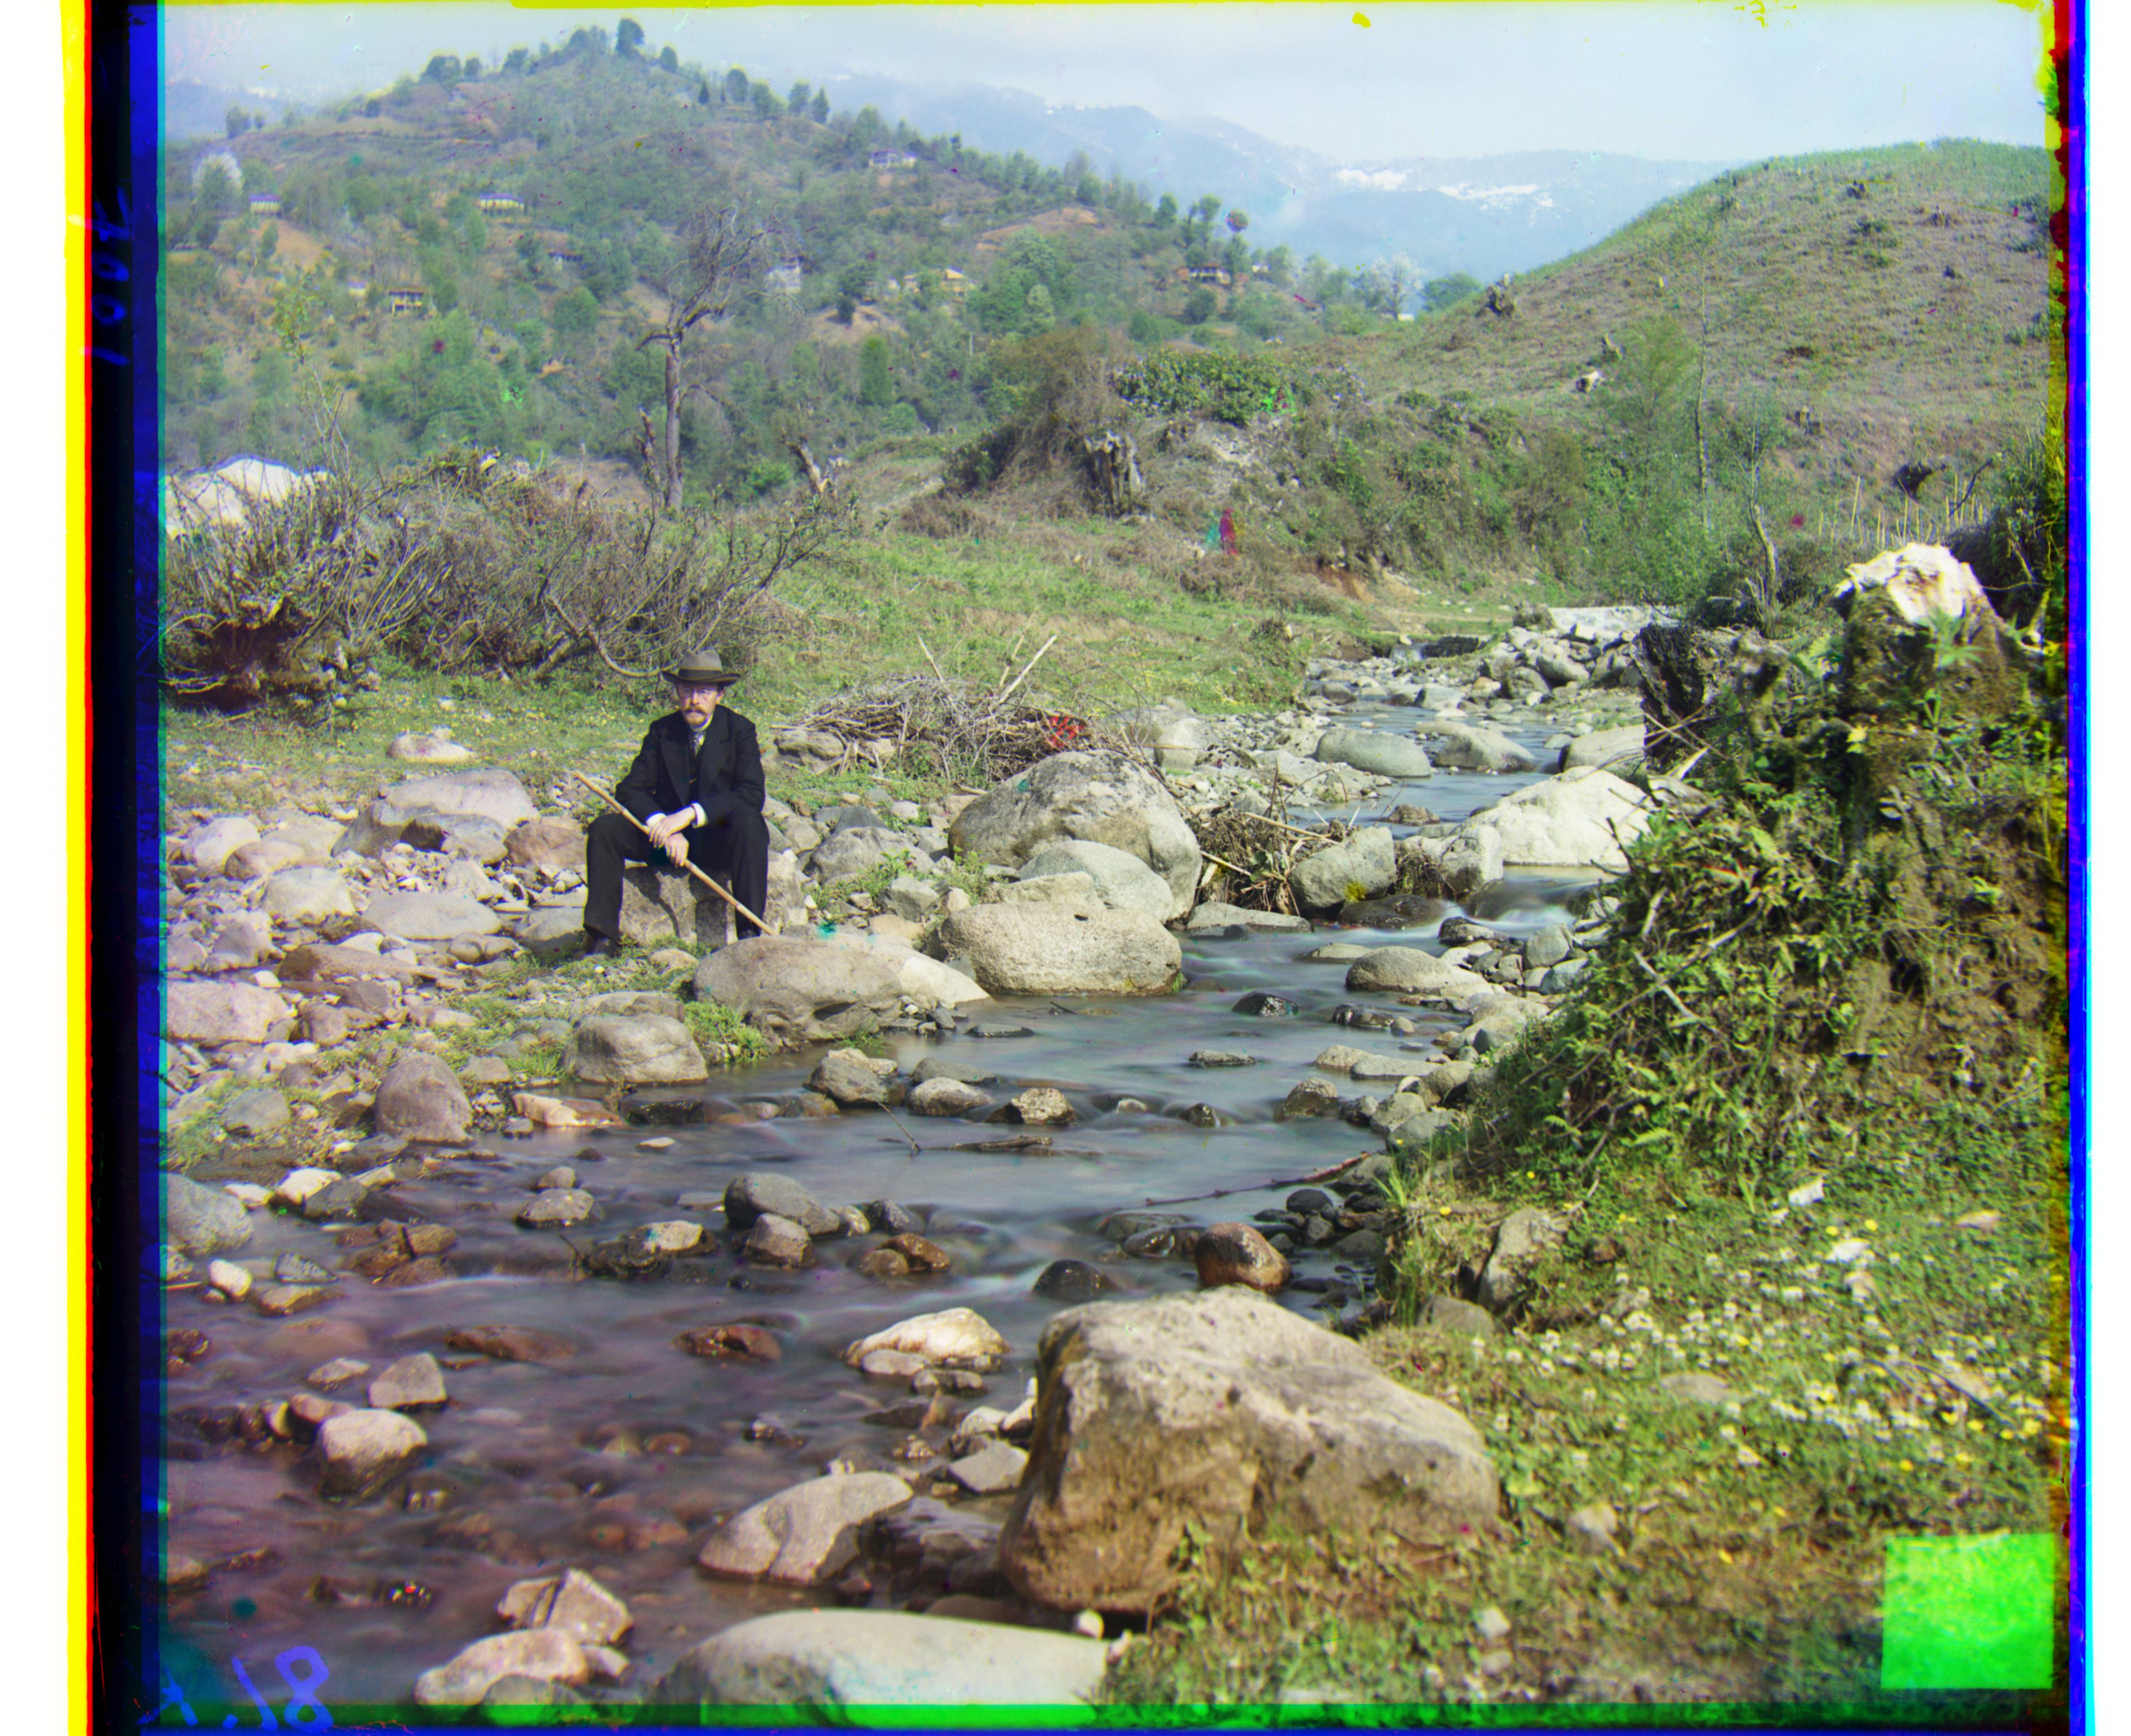
River - Blue: (-25, 18), Red: (77, -18)
V Malorossii - Blue: (-26, -18), Red: (96, 16)